Databending in Audacity
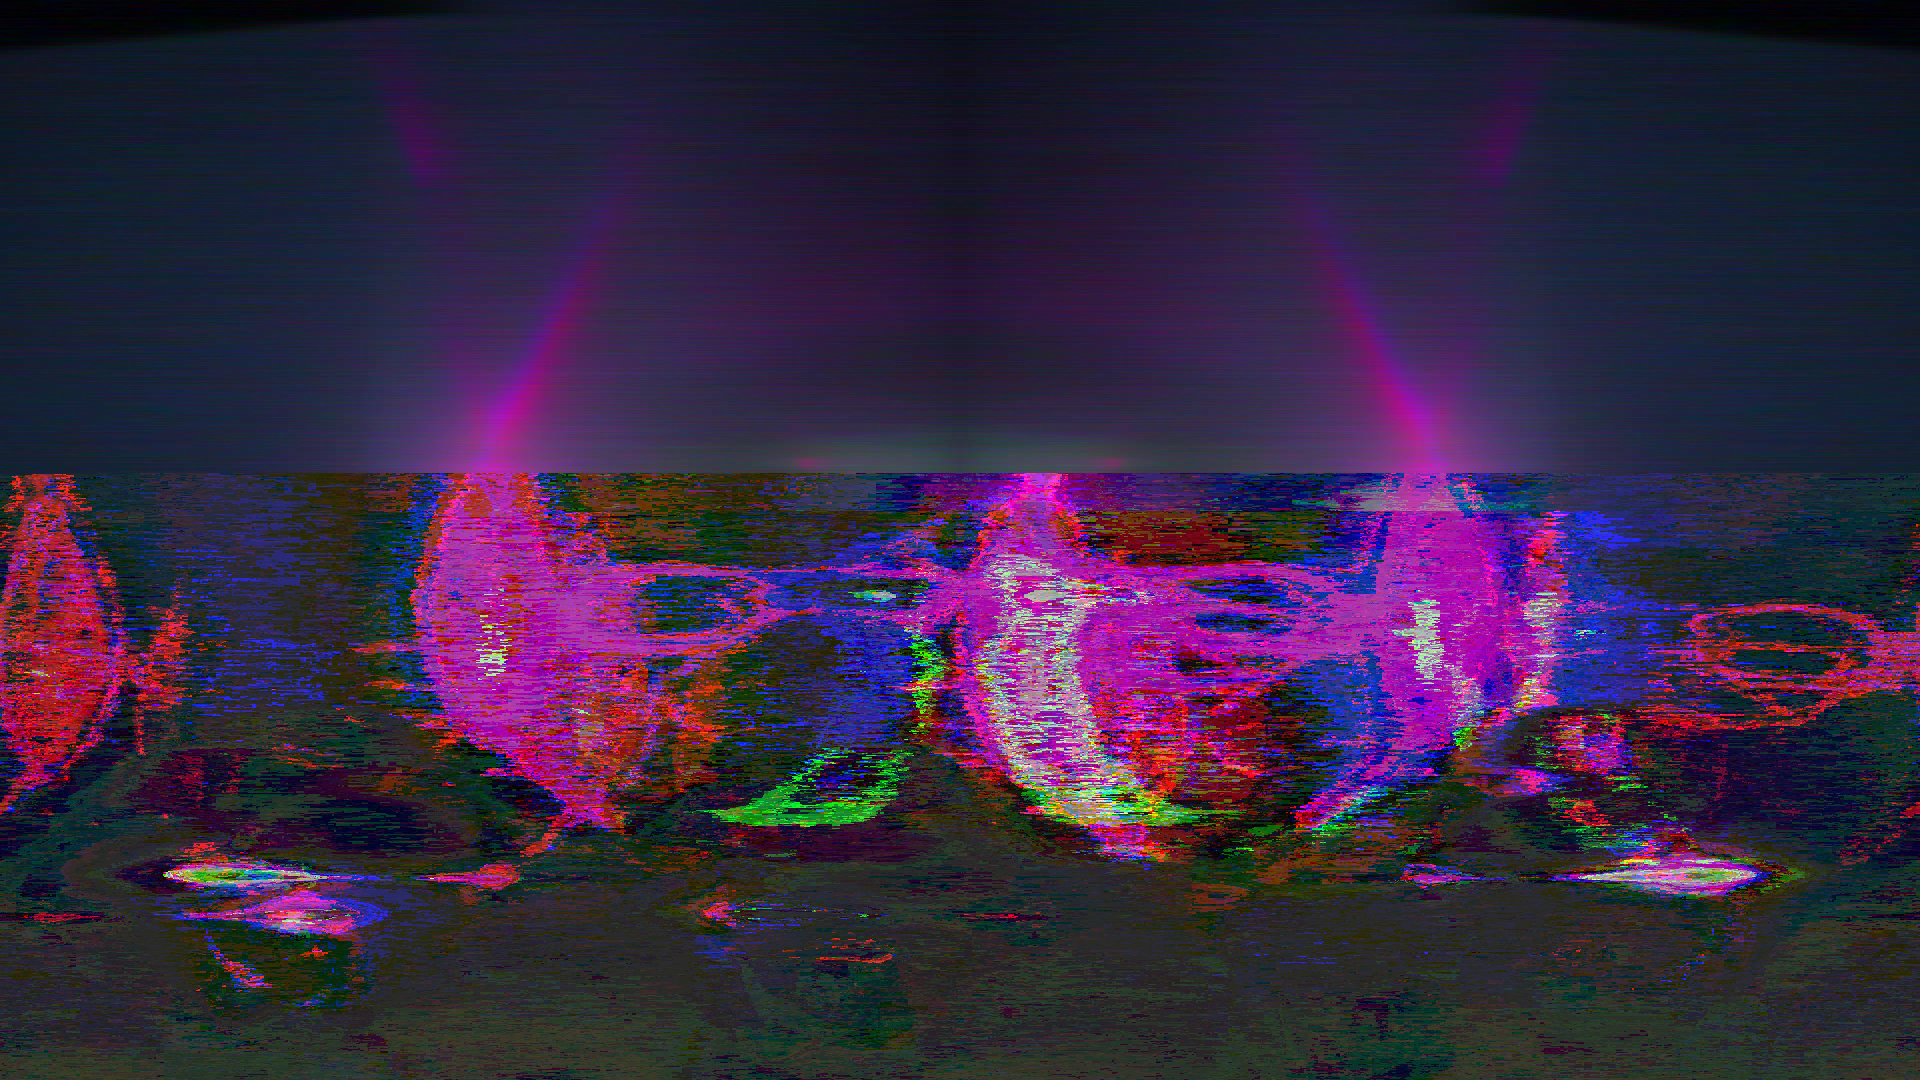
What is Databending?
Databending (or data bending) is the process of manipulating a media file of a certain format, using software designed to edit files of another format. Distortions in the medium typically occur as a result, and the process is frequently employed in glitch art. (Wikipedia)
... (it is) derived from circuit bending, in which objects such as children's toys, effects pedals and electronic keyboards are deliberately short circuited by bending the circuit board to produce erratic and spontaneous sounds. Like circuit bending, databending involves the (often unpredictable) alteration of its target's behavior. Databending achieves this alteration by manipulating the information within a media file of a certain format, using software designed to edit files of a different format; distortions in the medium typically occur as a result. (Wikipedia)
Examples:
- Altering images and video files in audio software
- Using WordPad to to manipulate images or audio in Rich Text Format
- Live databending in MaxMSP, Pure Data or TouchDesigner (Converting an image or video into audio signals, applying effects, then converting it back)
Audacity
We'll be using Audacity to databend images today.
- Download from
Older Versions: Audacity 3.0
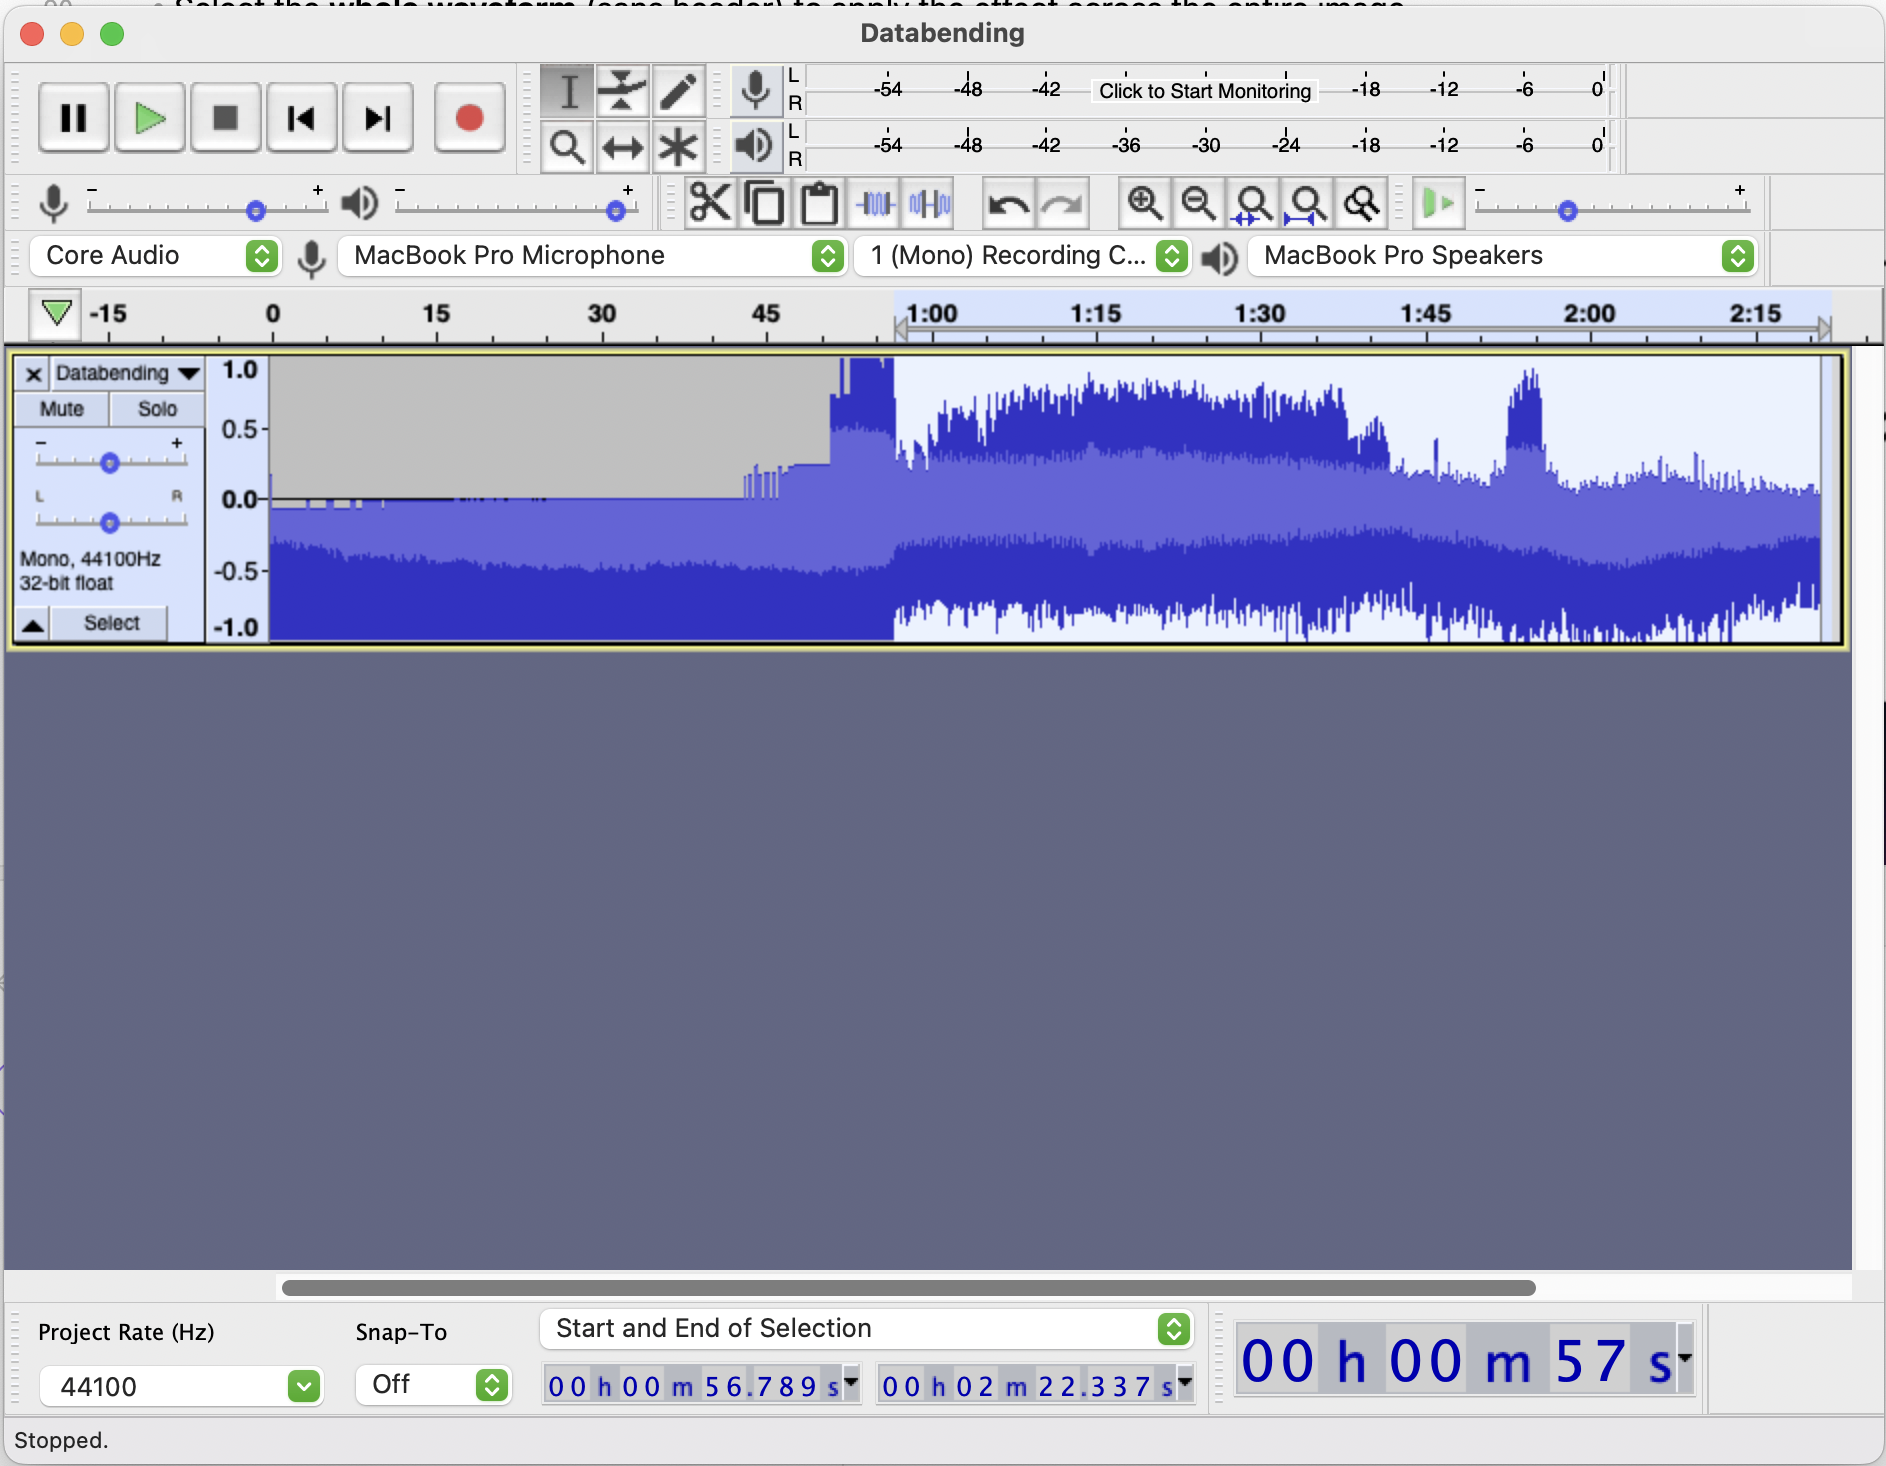
Audacity Interface
Databending Instructions
Step 1: Convert your image to .BMP format
You can start with any image format, but higher quality images produce higher quality results!
- Open the image in Preview
File > Exportto export the image- In the Exporter, navigate to
Format - Hold down the
optionkey on your keyboard as you open theFormat drop-down menu - Select
Microsoft BMP - Save your image
Step 2: Import the .BMP to Audacity as raw data
- Open Audacity
File > Import > Raw Data...- Open the
.BMPfile you just converted - Import settings:
- Encoding:
A-Law,U-Law, OR16-bit PCM - Channels:
Mono - Sample rate: 44.1kHz
- Encoding:
Different import settings produce different glitch structures!
Step 3: Databending begins!
You should now see the image appear as a waveform in audacity! If you don't, try the previous steps again otherwise the next steps won't work.
All files types have bits of information called "headers" that specifies what the file is and how the computer should build the file when it opens. Without a header, a file cannot open and is essentially corrupted.
To avoid corruption:
- Always leave the first little bit of a waveform unselected when applying Effects.
- Click & drag over the waveform to select a section of the track. Leaving a small portion at the start that is the header unselected!
- Navigate to
Effectin the menu bar - Choose
Echo... Echosettings:- Delay time: 5
- Decay factor: 0.5
- Click
OKto apply the effect.
You should see the selected part of your waveform change when you apply the effect. Now you're ready to export!
Step 4: Export back to .BMP!
- Navigate
File > Export > Export Audio... - Export settings:
- Save As: Relabel
.rawto.bmp+ change the file name (Ex. Image1.raw --> Image1_Echo.bmp) - Location: Same folder as your original image
- File type:
Other uncompressed files - Format options >
RAW (Headerless) - Format options > Encoding:
A-Law,U-Law, OR16-bit PCMPick the same encoding format that you imported with
- Save As: Relabel
- Save the image
Now go to the file browser and open the newly saved .BMP in Preview to view the effects.
Step 5: Repeat with other effects!
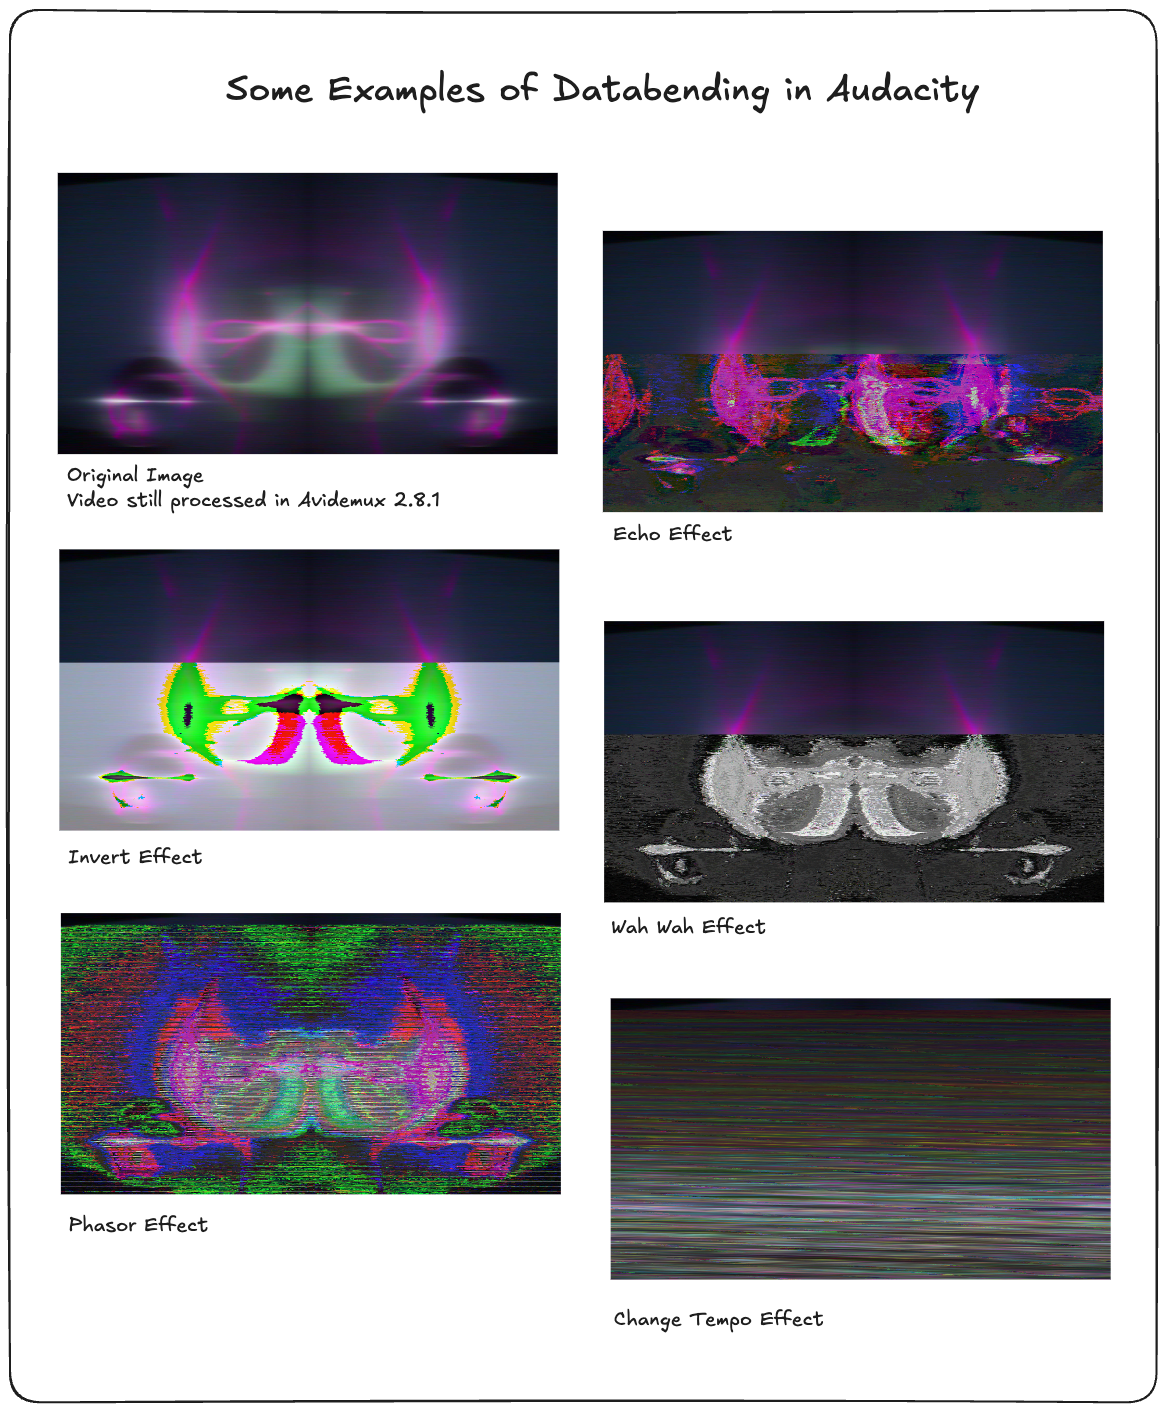
Now that you have the hang of things, repeat the process with other effects. Below are some examples of different effects you can try.
- Export the image after you have applied each effect.
- Use
COMMAND+Zto undo the effect then try a different recipe. - Remember to leave the header alone!
Selectively applying + compounding effects:
- Select the whole waveform (sans header) to apply the effect across the entire image
- Select a section of the waveform to apply effects to specific sections of the image.
- Apply multiple effects in a row to compound effects.
- Apply the same effect multiple times to increase the intensity of the effect.
Databending Video
Largely the same as the image-based processing, except for the steps to convert and import your video file to Audacity.
Video databending tips:
- Remember, the larger your file, the more data, so the longer your import/export times will be!
- Leave the header alone!
- Export with the same encoding settings as your import + save the file
Audacity Import Settings for RAW .AVI video:
- Encoding:
A-LaworU-Law - Endianness: No endianness
- Channels:
Mono
Options to convert your video to a RAW format:
Resources
- Databending with Audacity
- How to Databend Video in Audacity - Youtube
- Every Possible Glitch from Databending in Audacity - Youtube
- Databending Video with Audacity
- Audio Databending
- Live Databending with Pure Data
- Circuit Bending in TouchDesigner
- glitch-tool by Tobias Løfgren