AV Skills III - Generative Sound + Visuals
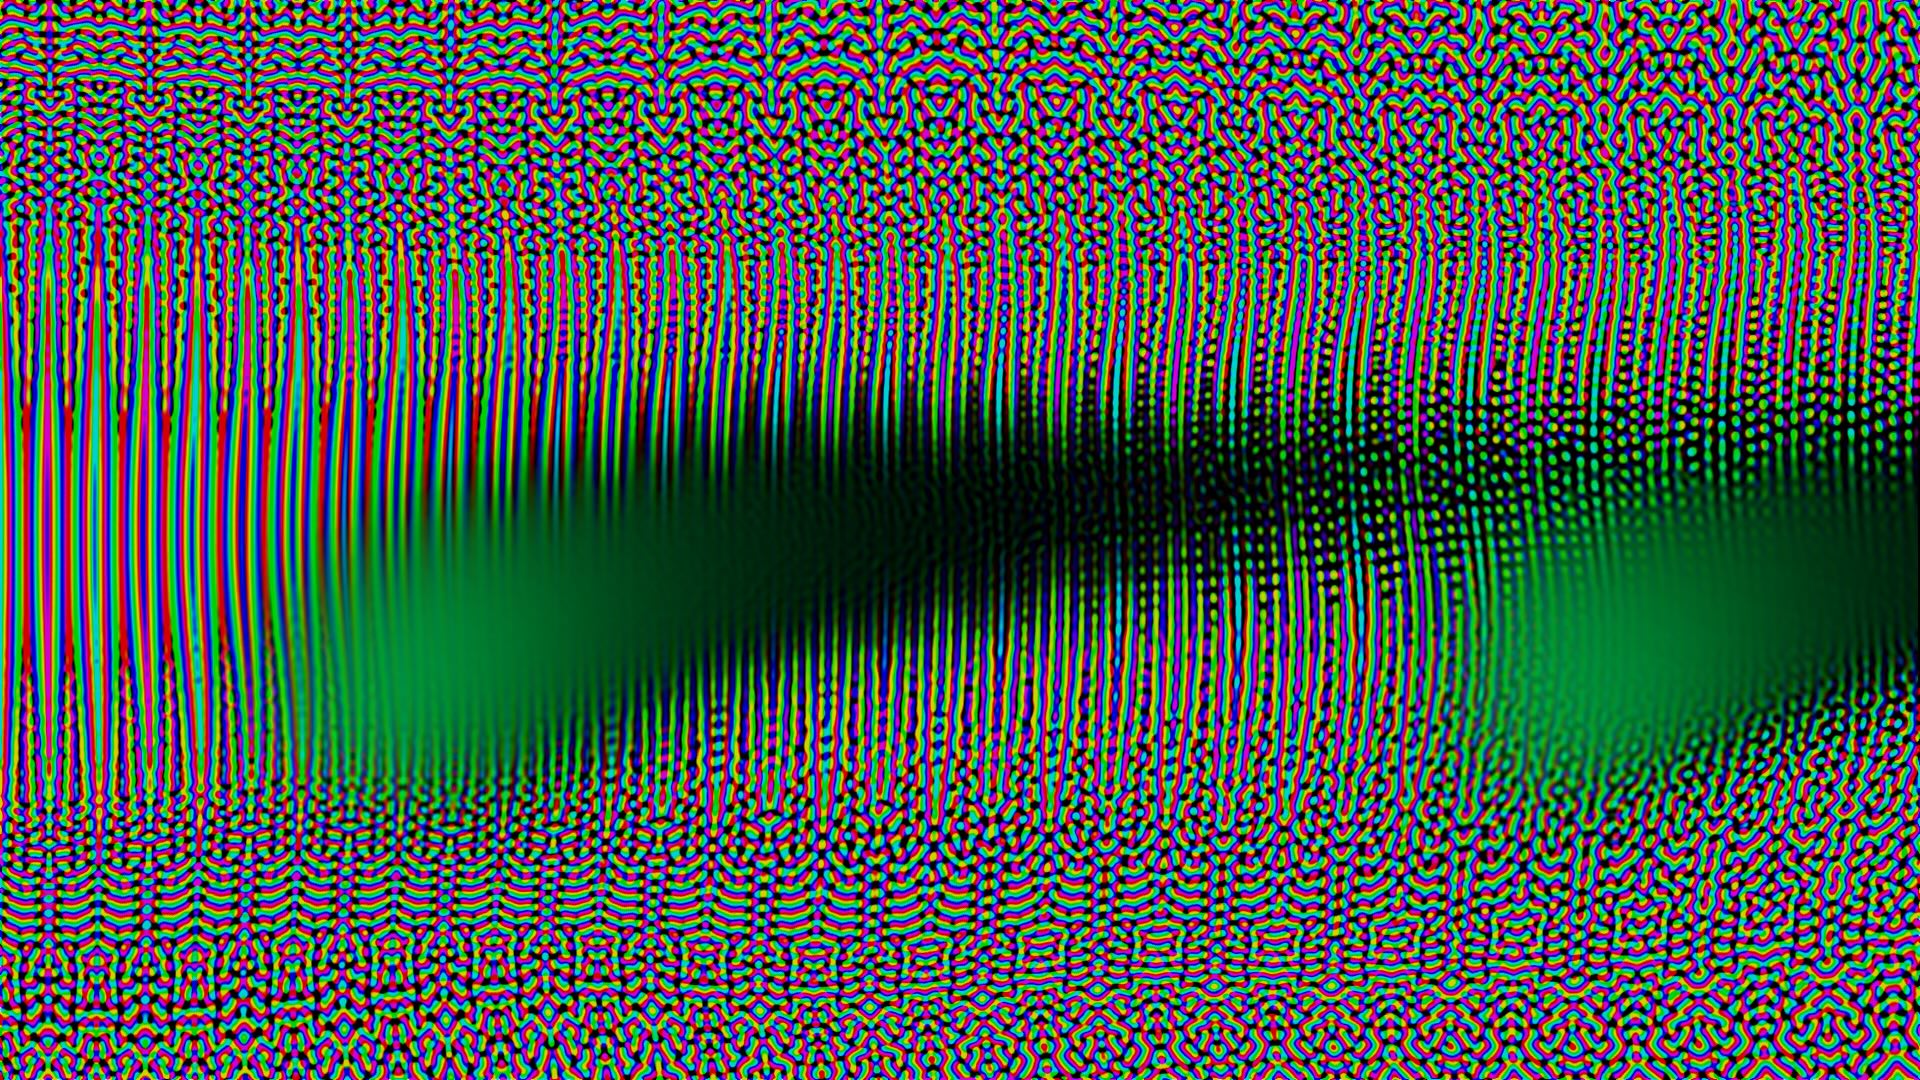
Steps of Sound Synthesis
Sound Generation
What are sound waves?
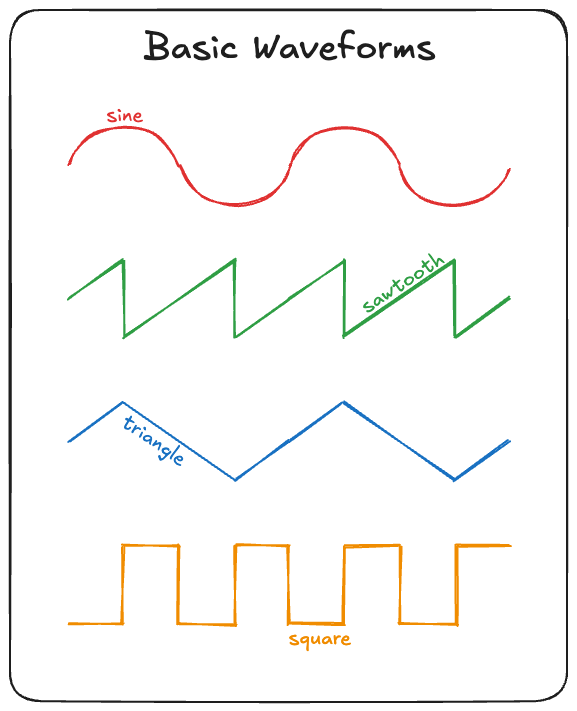
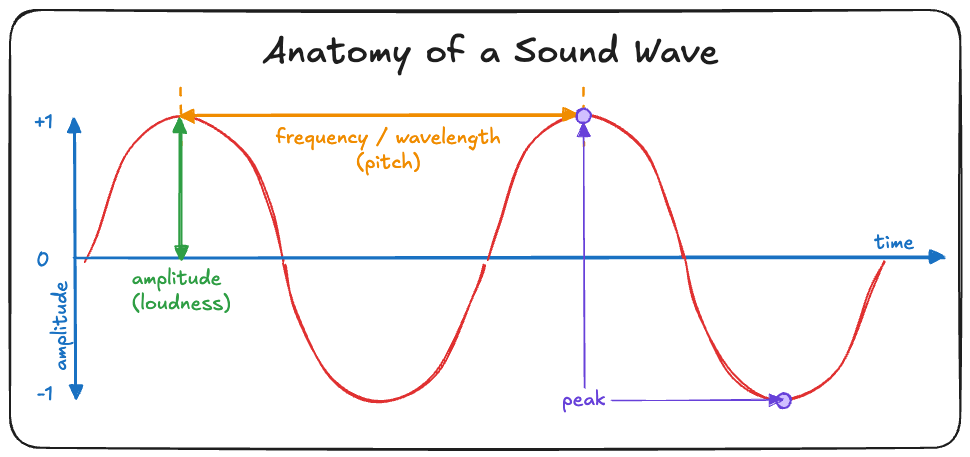
Anatomy of a wave
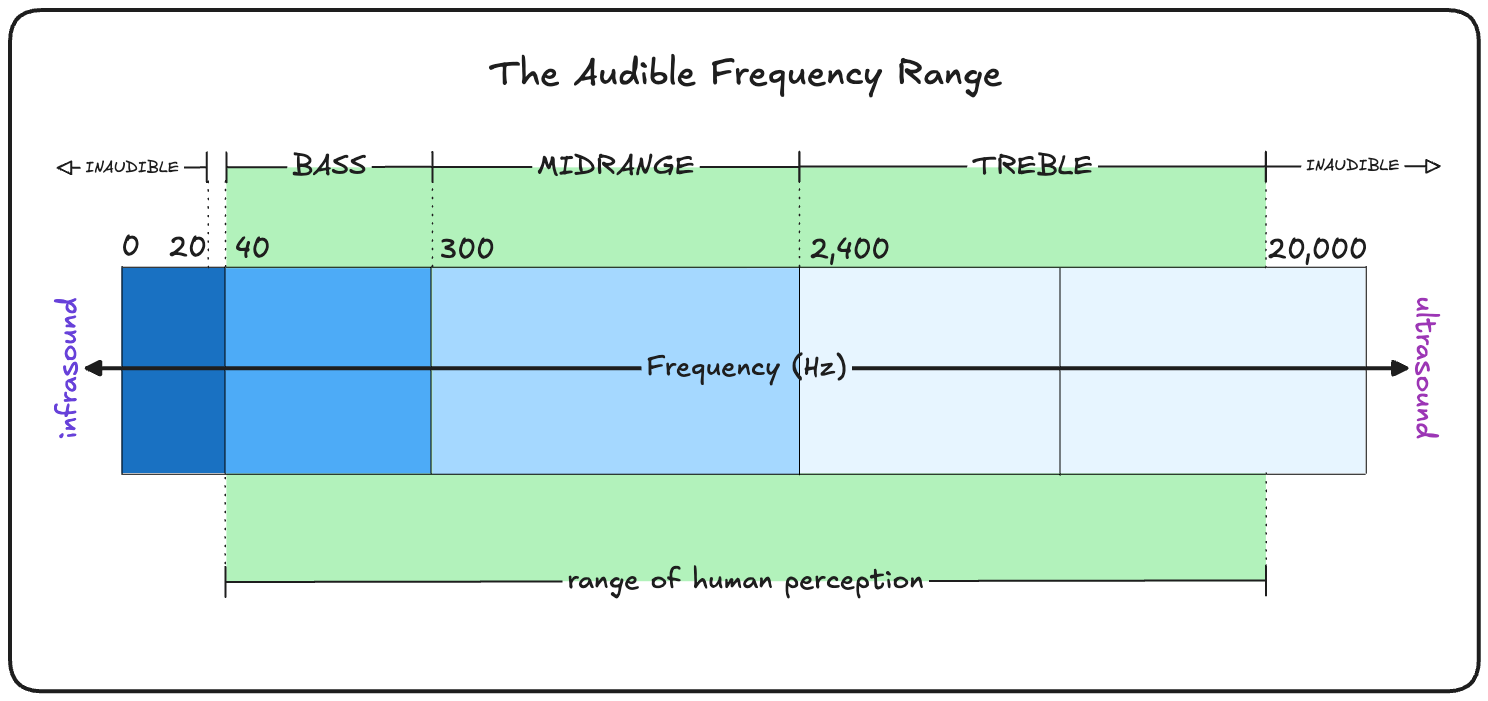
The Audible Frequency Range
~ 20 Hz to 20,000 Hz
- So synthesis, naturally works in the audible frequency range! Anything above or below cannot be heard by the human ear.
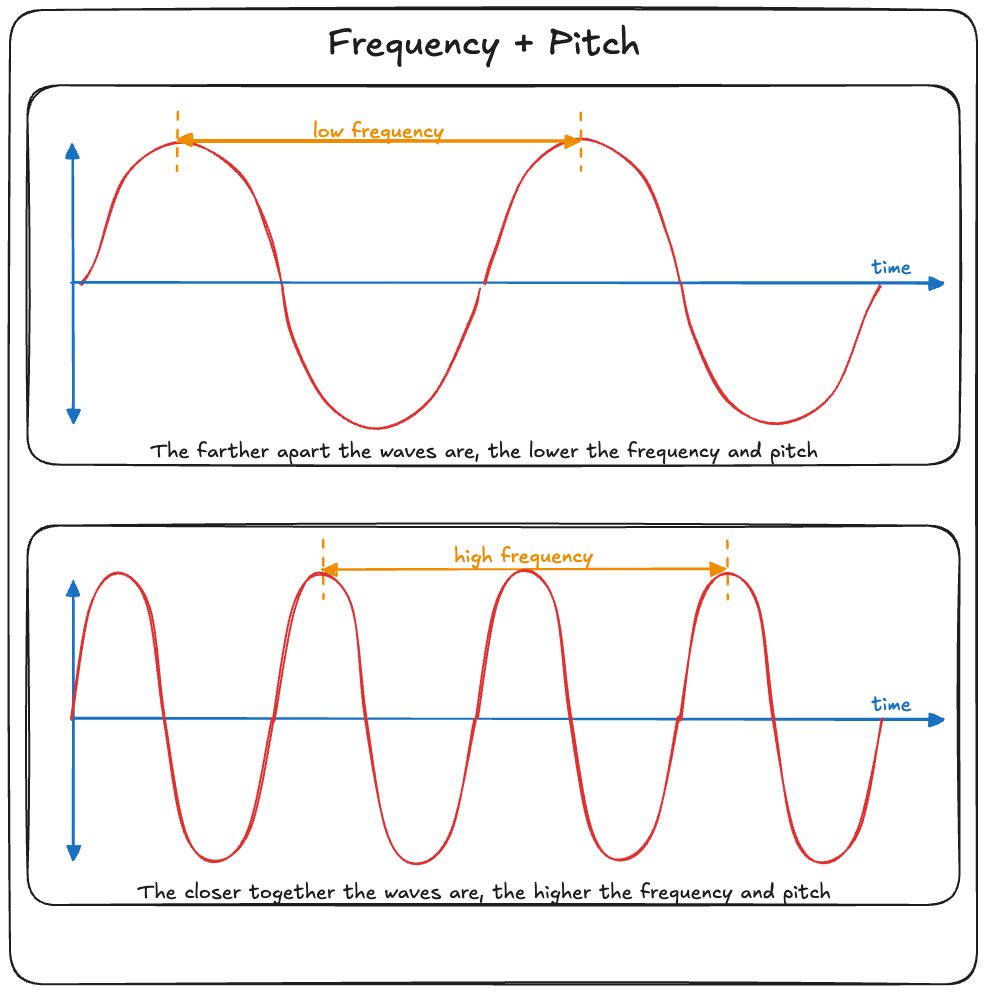
Frequency + Pitch
What makes a sound lower (bass range) or higher (treble range)?
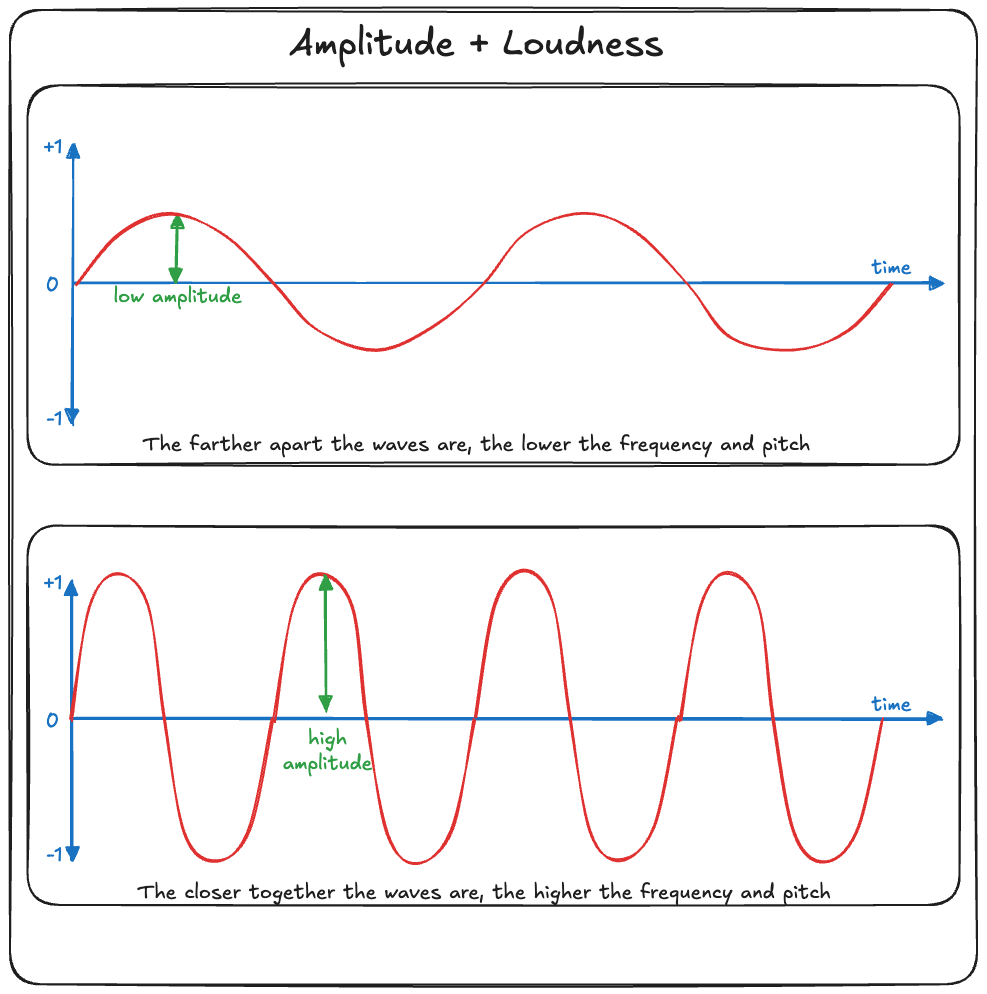
Amplitude + Loudness
What makes a sound louder or quieter?
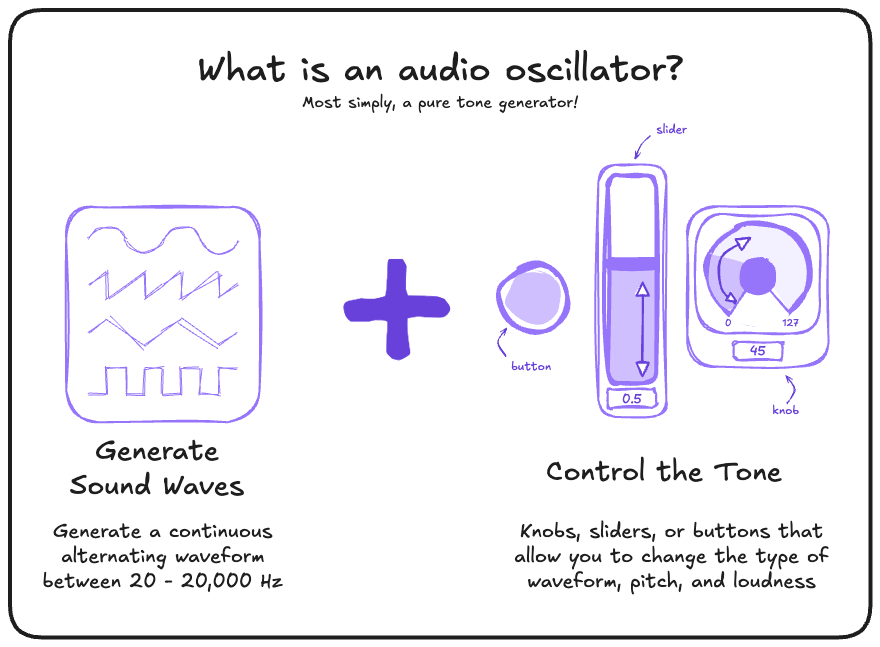
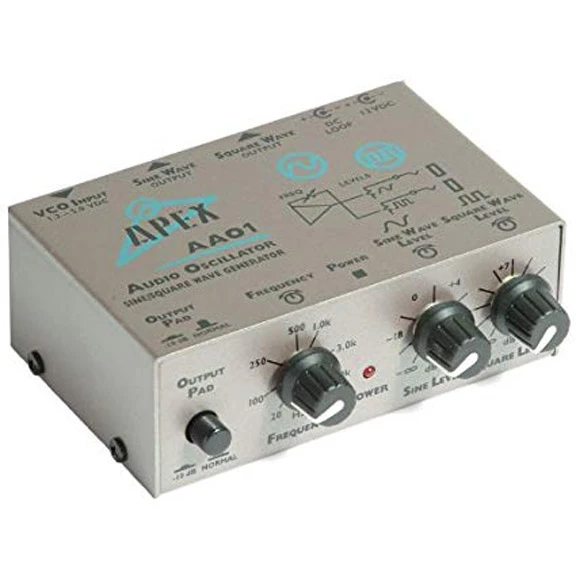
Audio oscillators generate sound
Shaping Sound
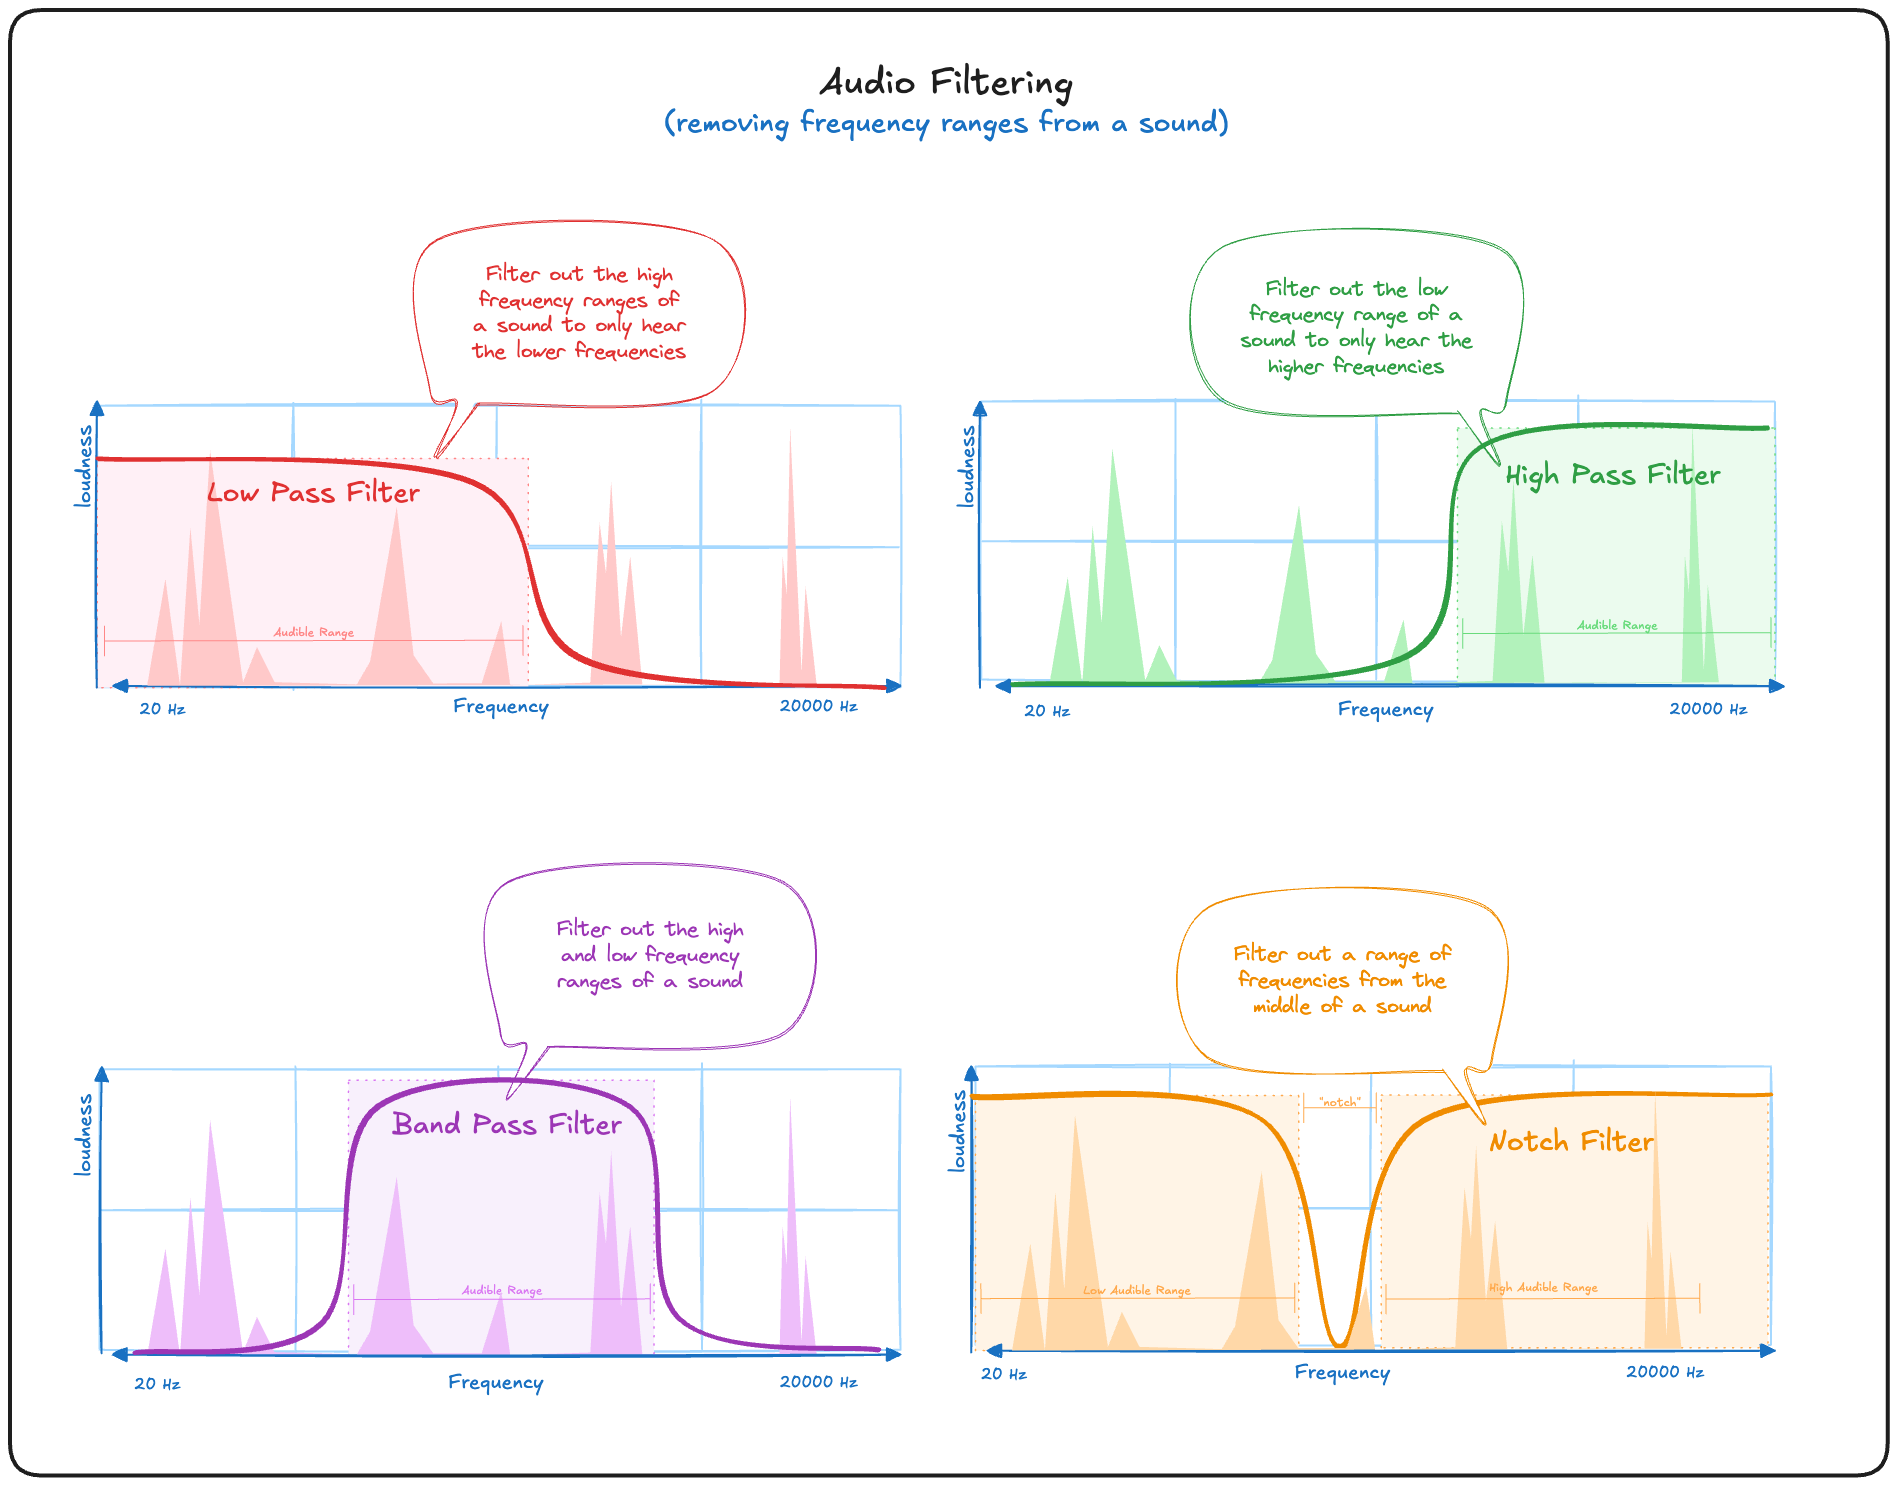
Audio Filters
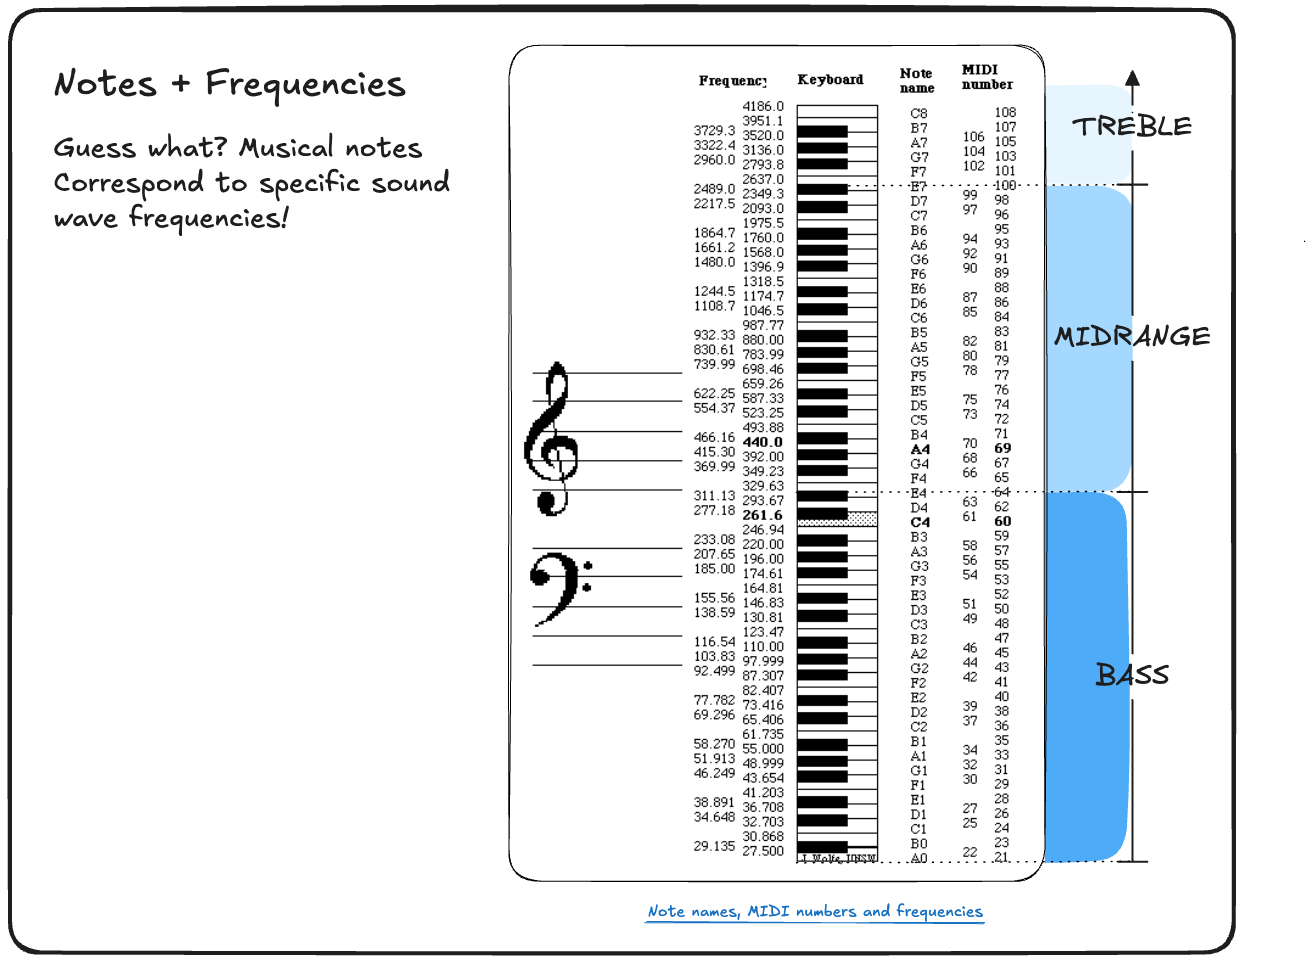
Notes
Musical notes correspond to specific frequencies.
ADSR Envelopes
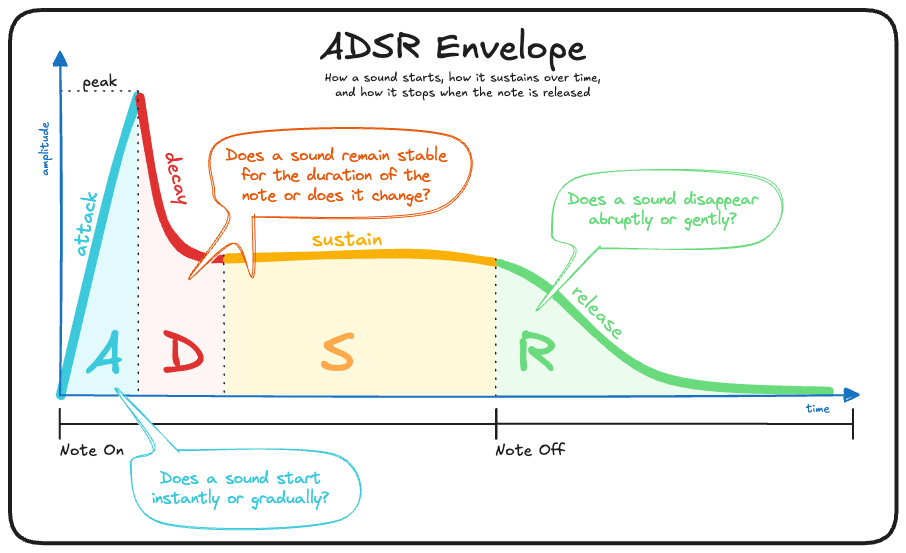
A note is shaped by an envelope. In other words, an envelope shapes how a sound starts, sustains over time, and how it stops. The duration of when a sound starts to when it ends can be thought of as a note.
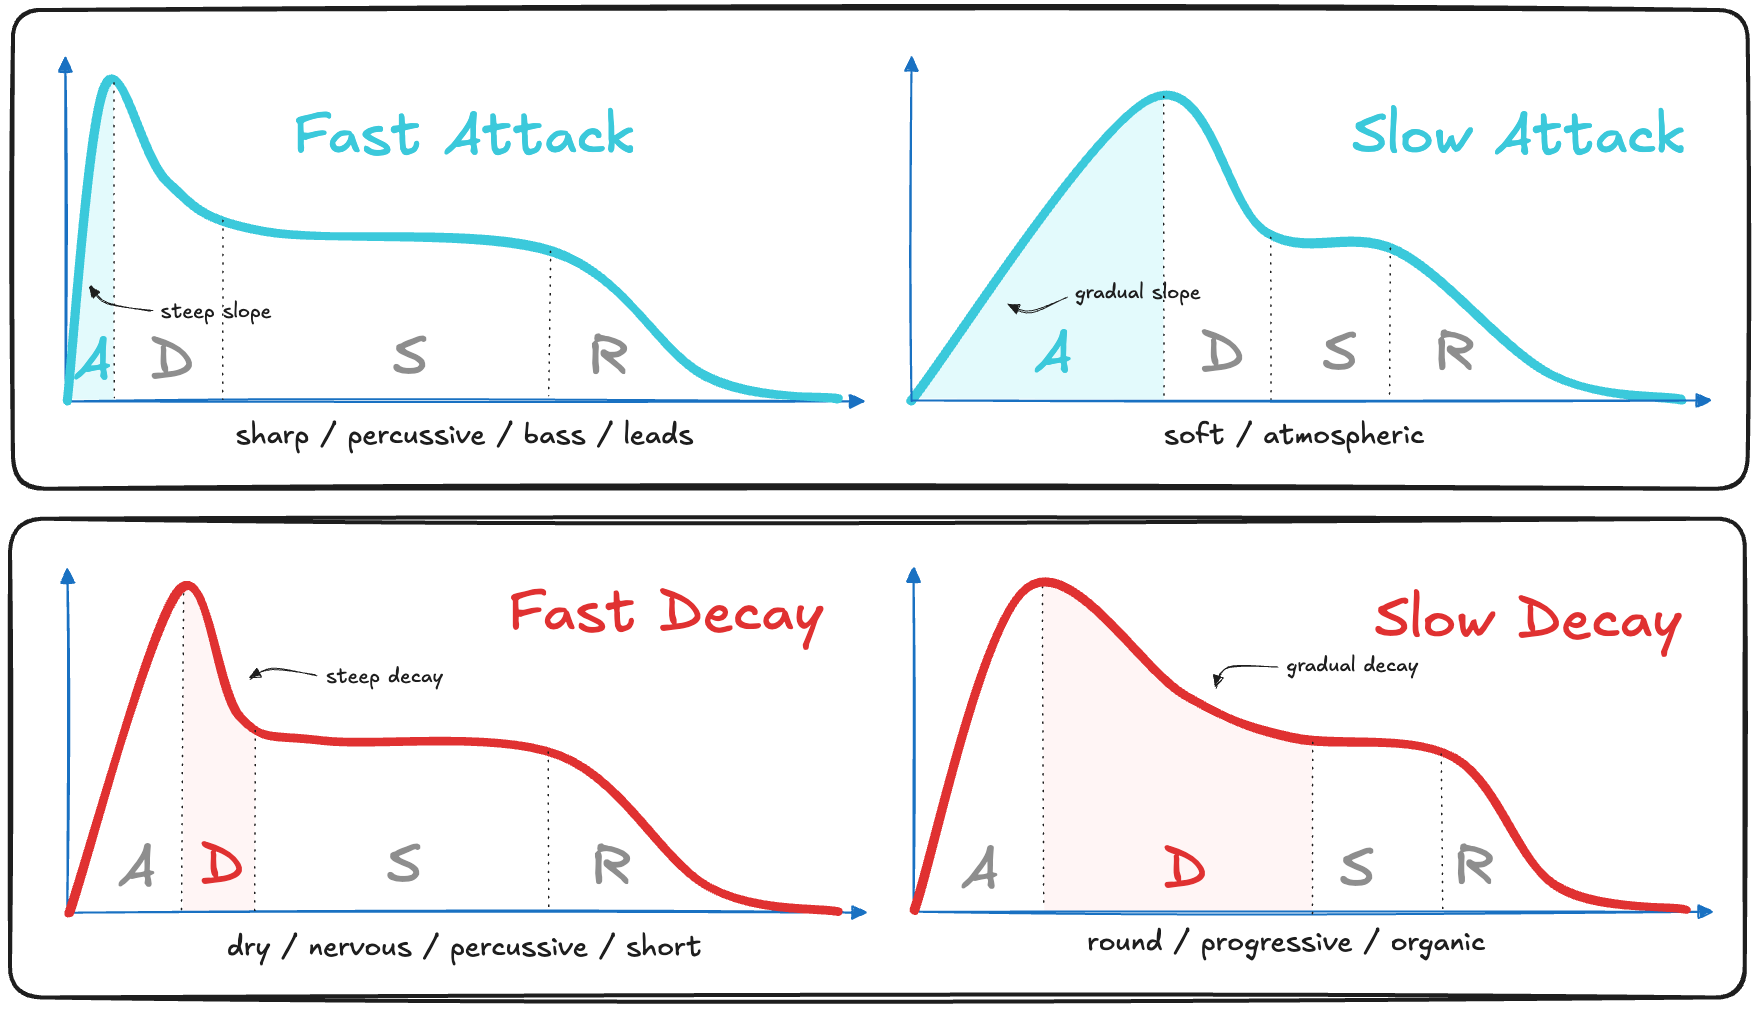
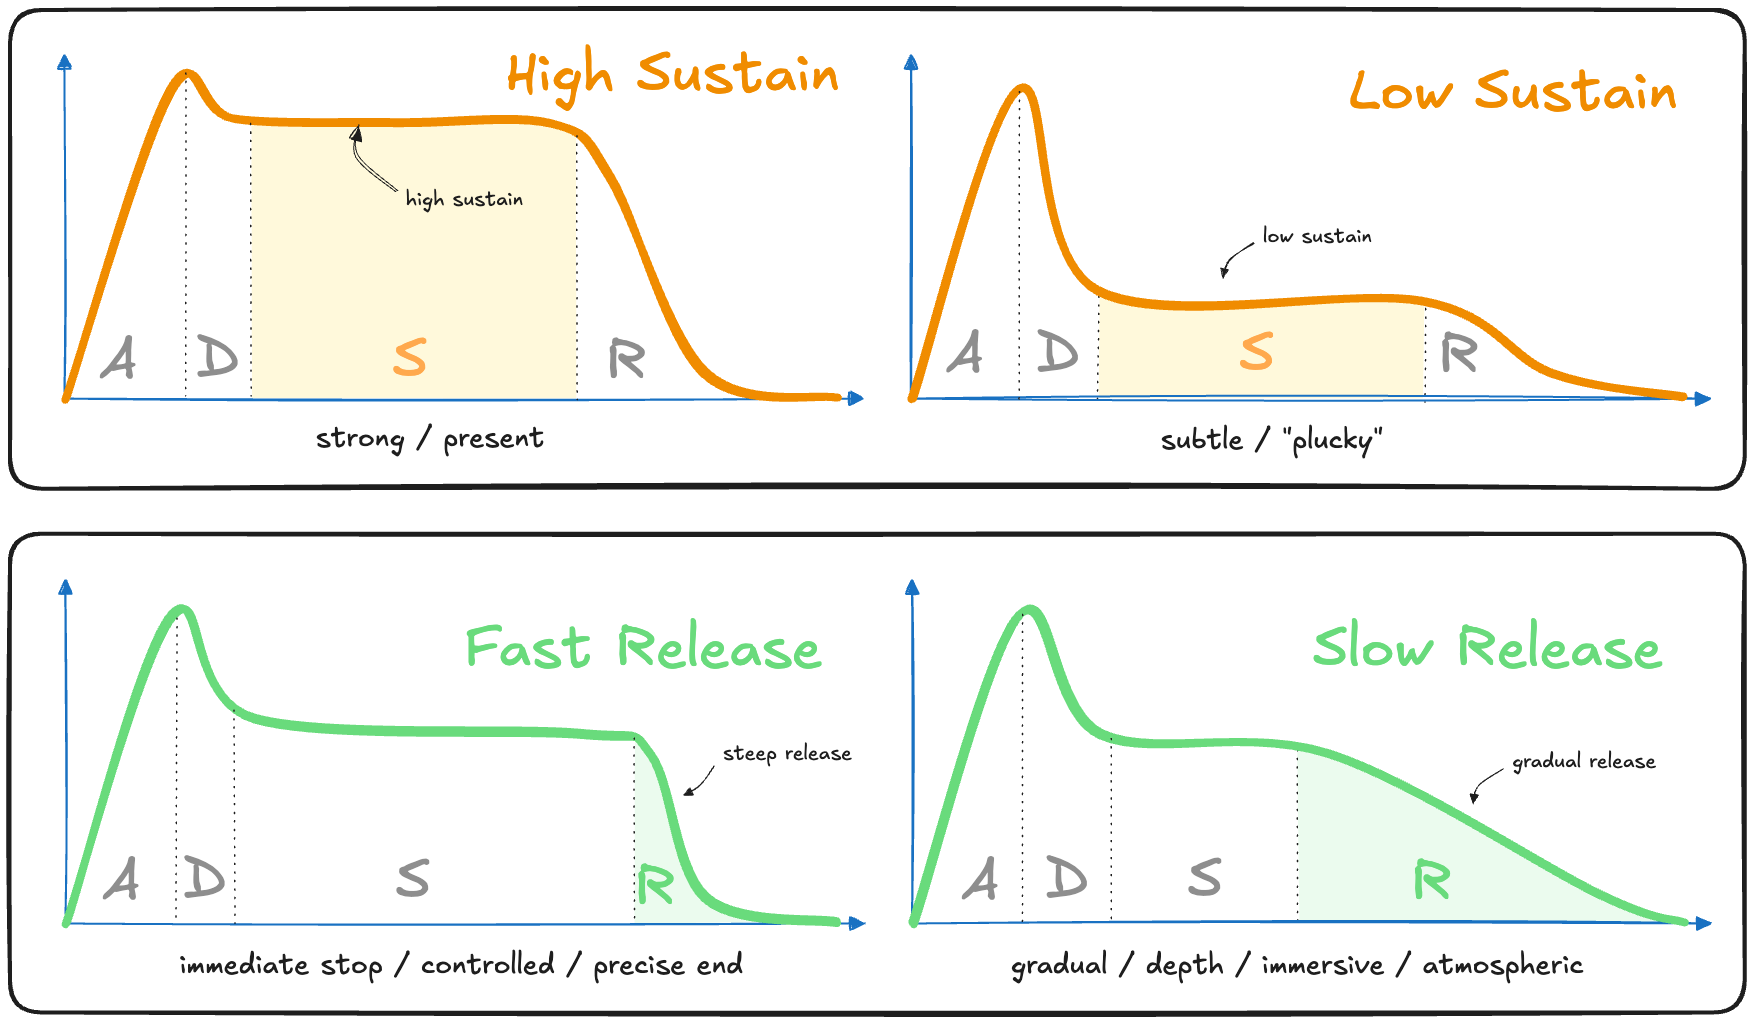
An envelope is described by a curve that changes in amplitude over time. Distinct parts of the curve have specific names:
- Attack - how a sound starts
- Decay - how a sound progresses after it reaches the peak
- Sustain - how a sound carries for the duration of the note
- Release - how a sound stops
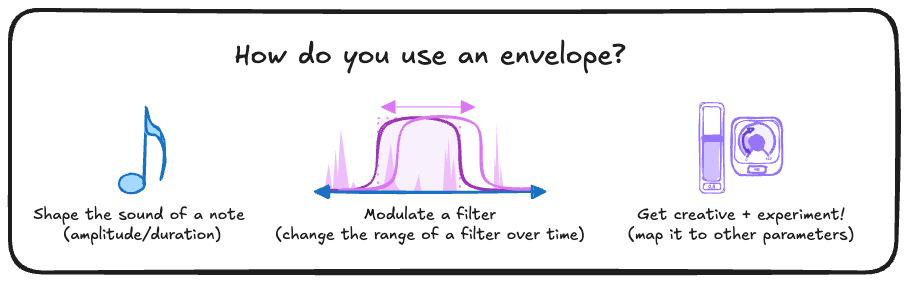
Envelopes an also be used to shape more than notes:
Fast vs. Slow ADSR
By changing the shape of the envelope, you shape the nature of the sound.
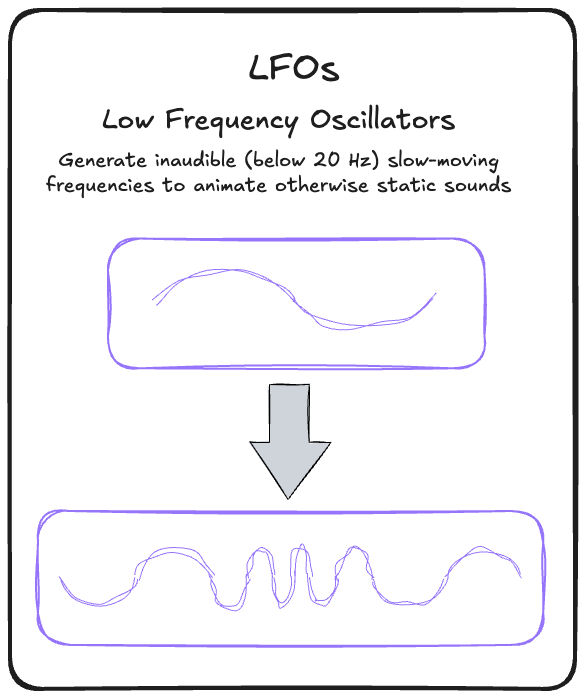
LFOs (Low Frequency Oscillators)
They work the same as normal audio oscillators, except that they are usually tuned to the LOW inaudible frequency range. They are used as control signals to modulate an audio signal.
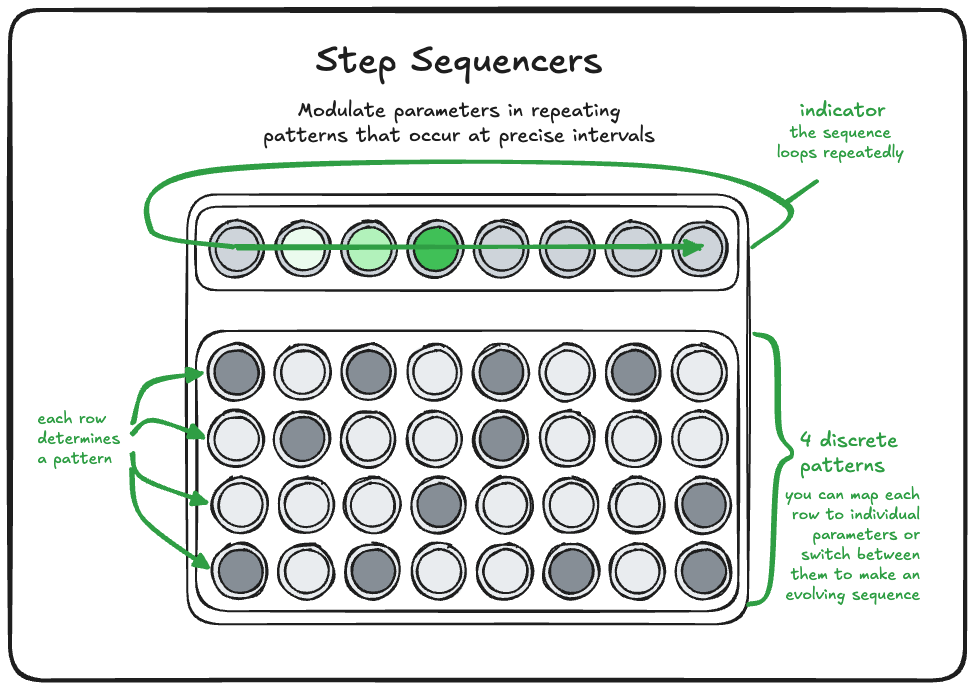
Sequencers
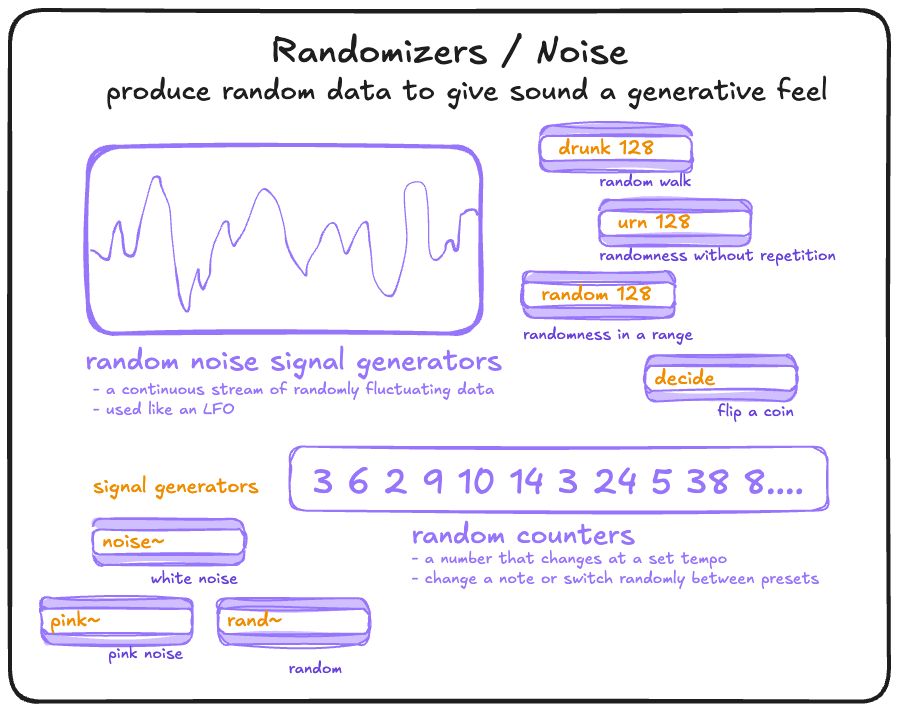
Randomizers
Synthesis Hardware vs. Software
Synthesis can be done using either hardware or software. Software typically replicates the functionality of hardware. So if you understand roughly how hardware works, the same principles apply when working in software.
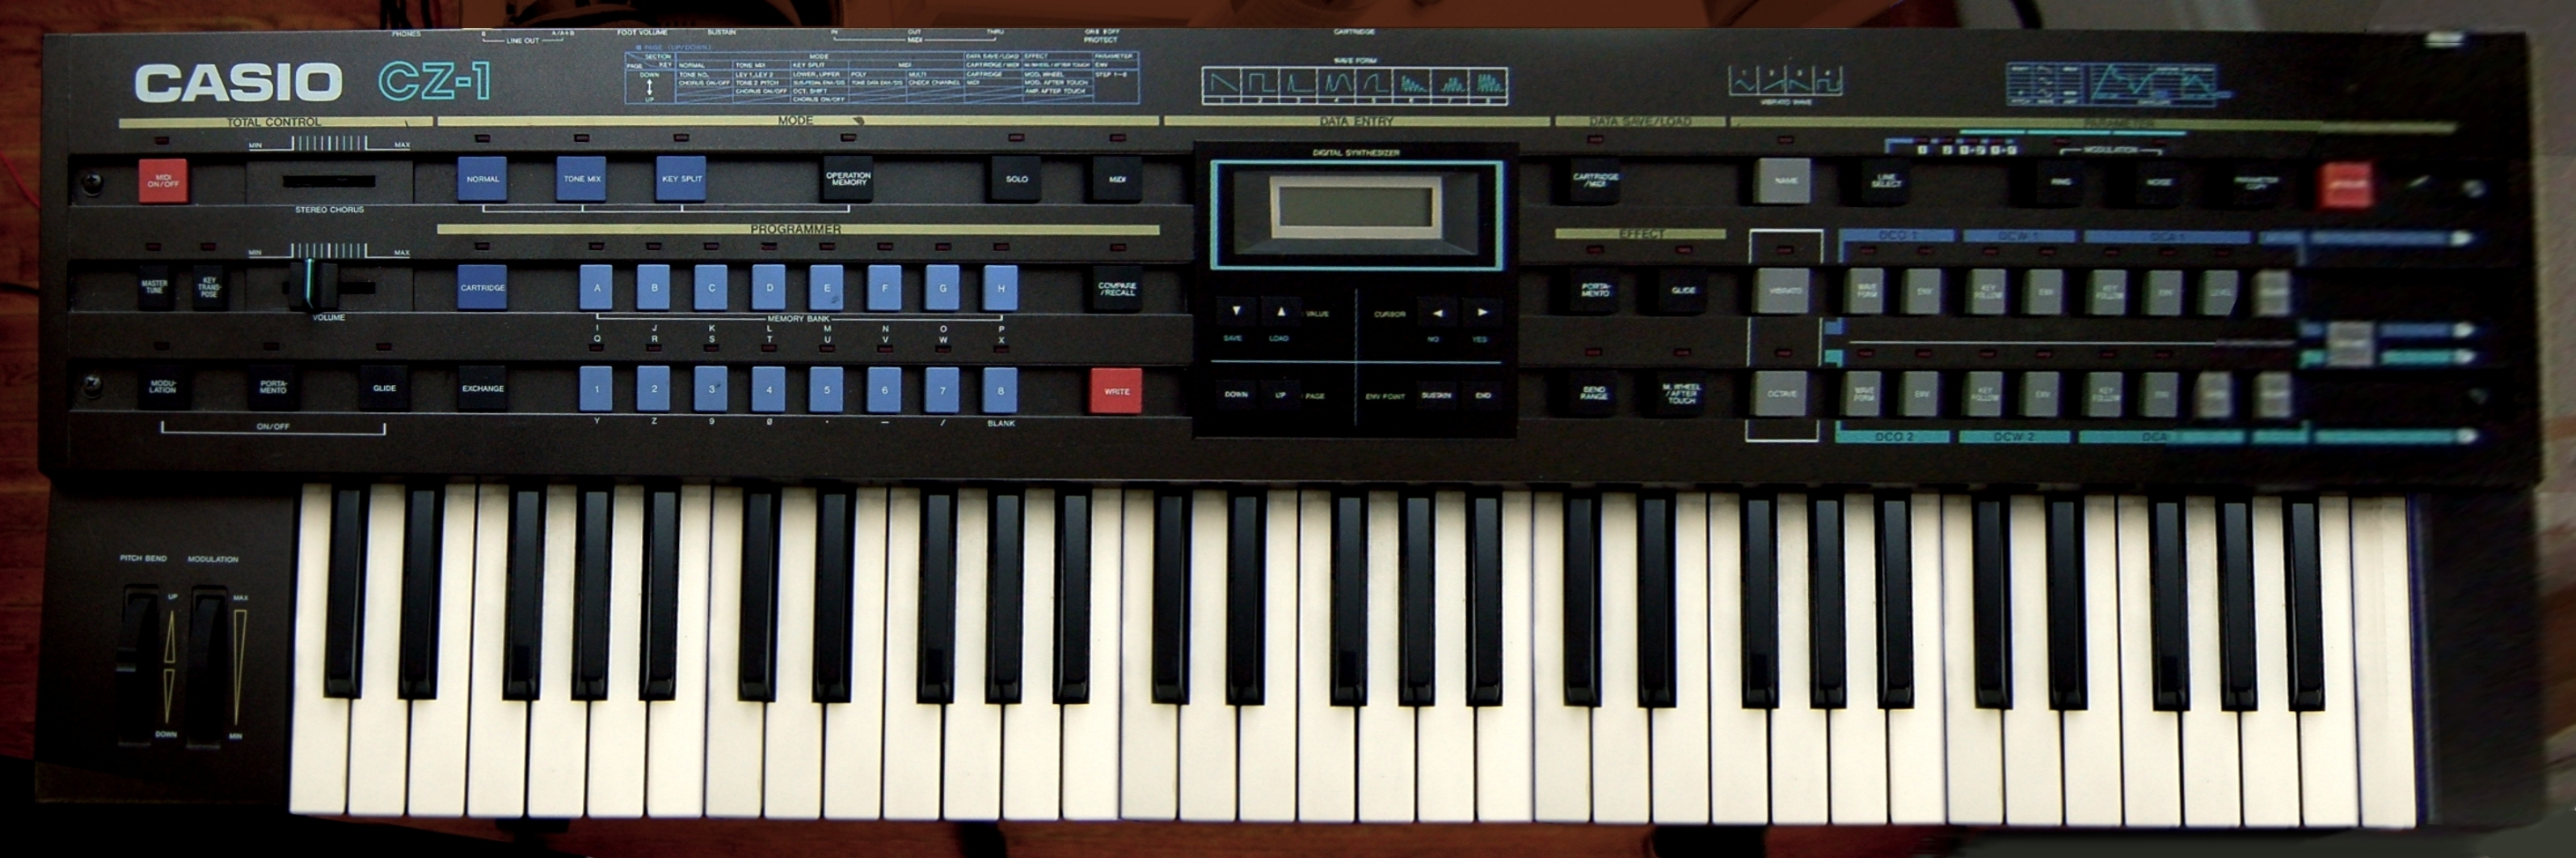
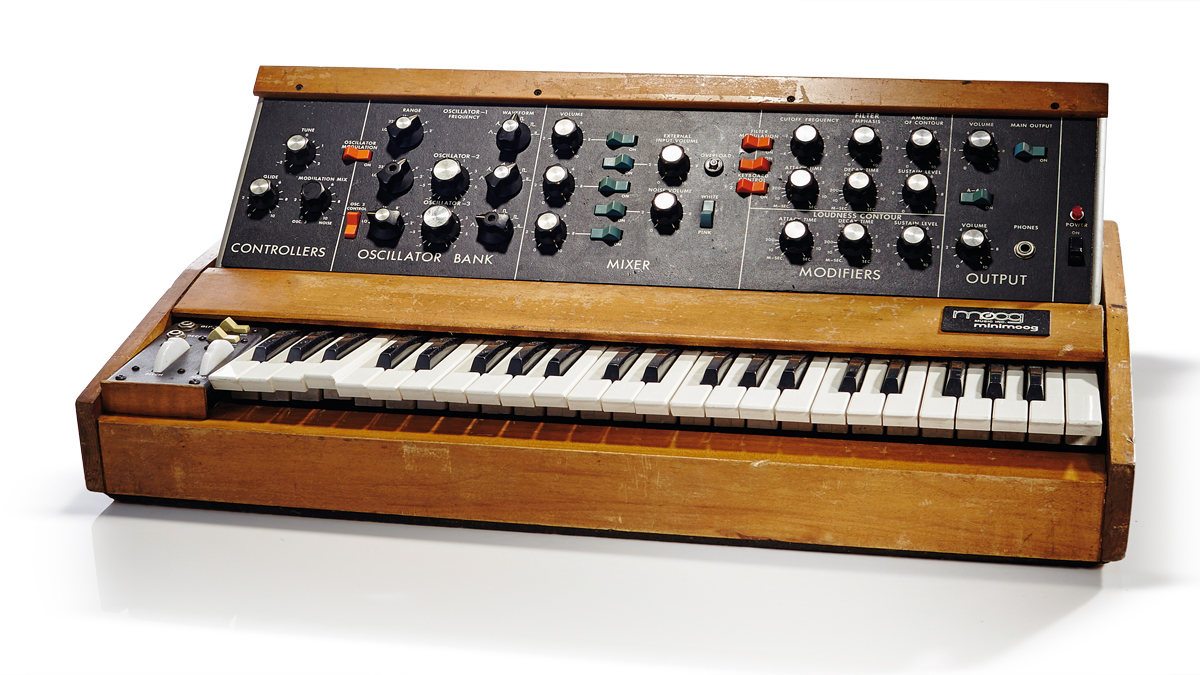
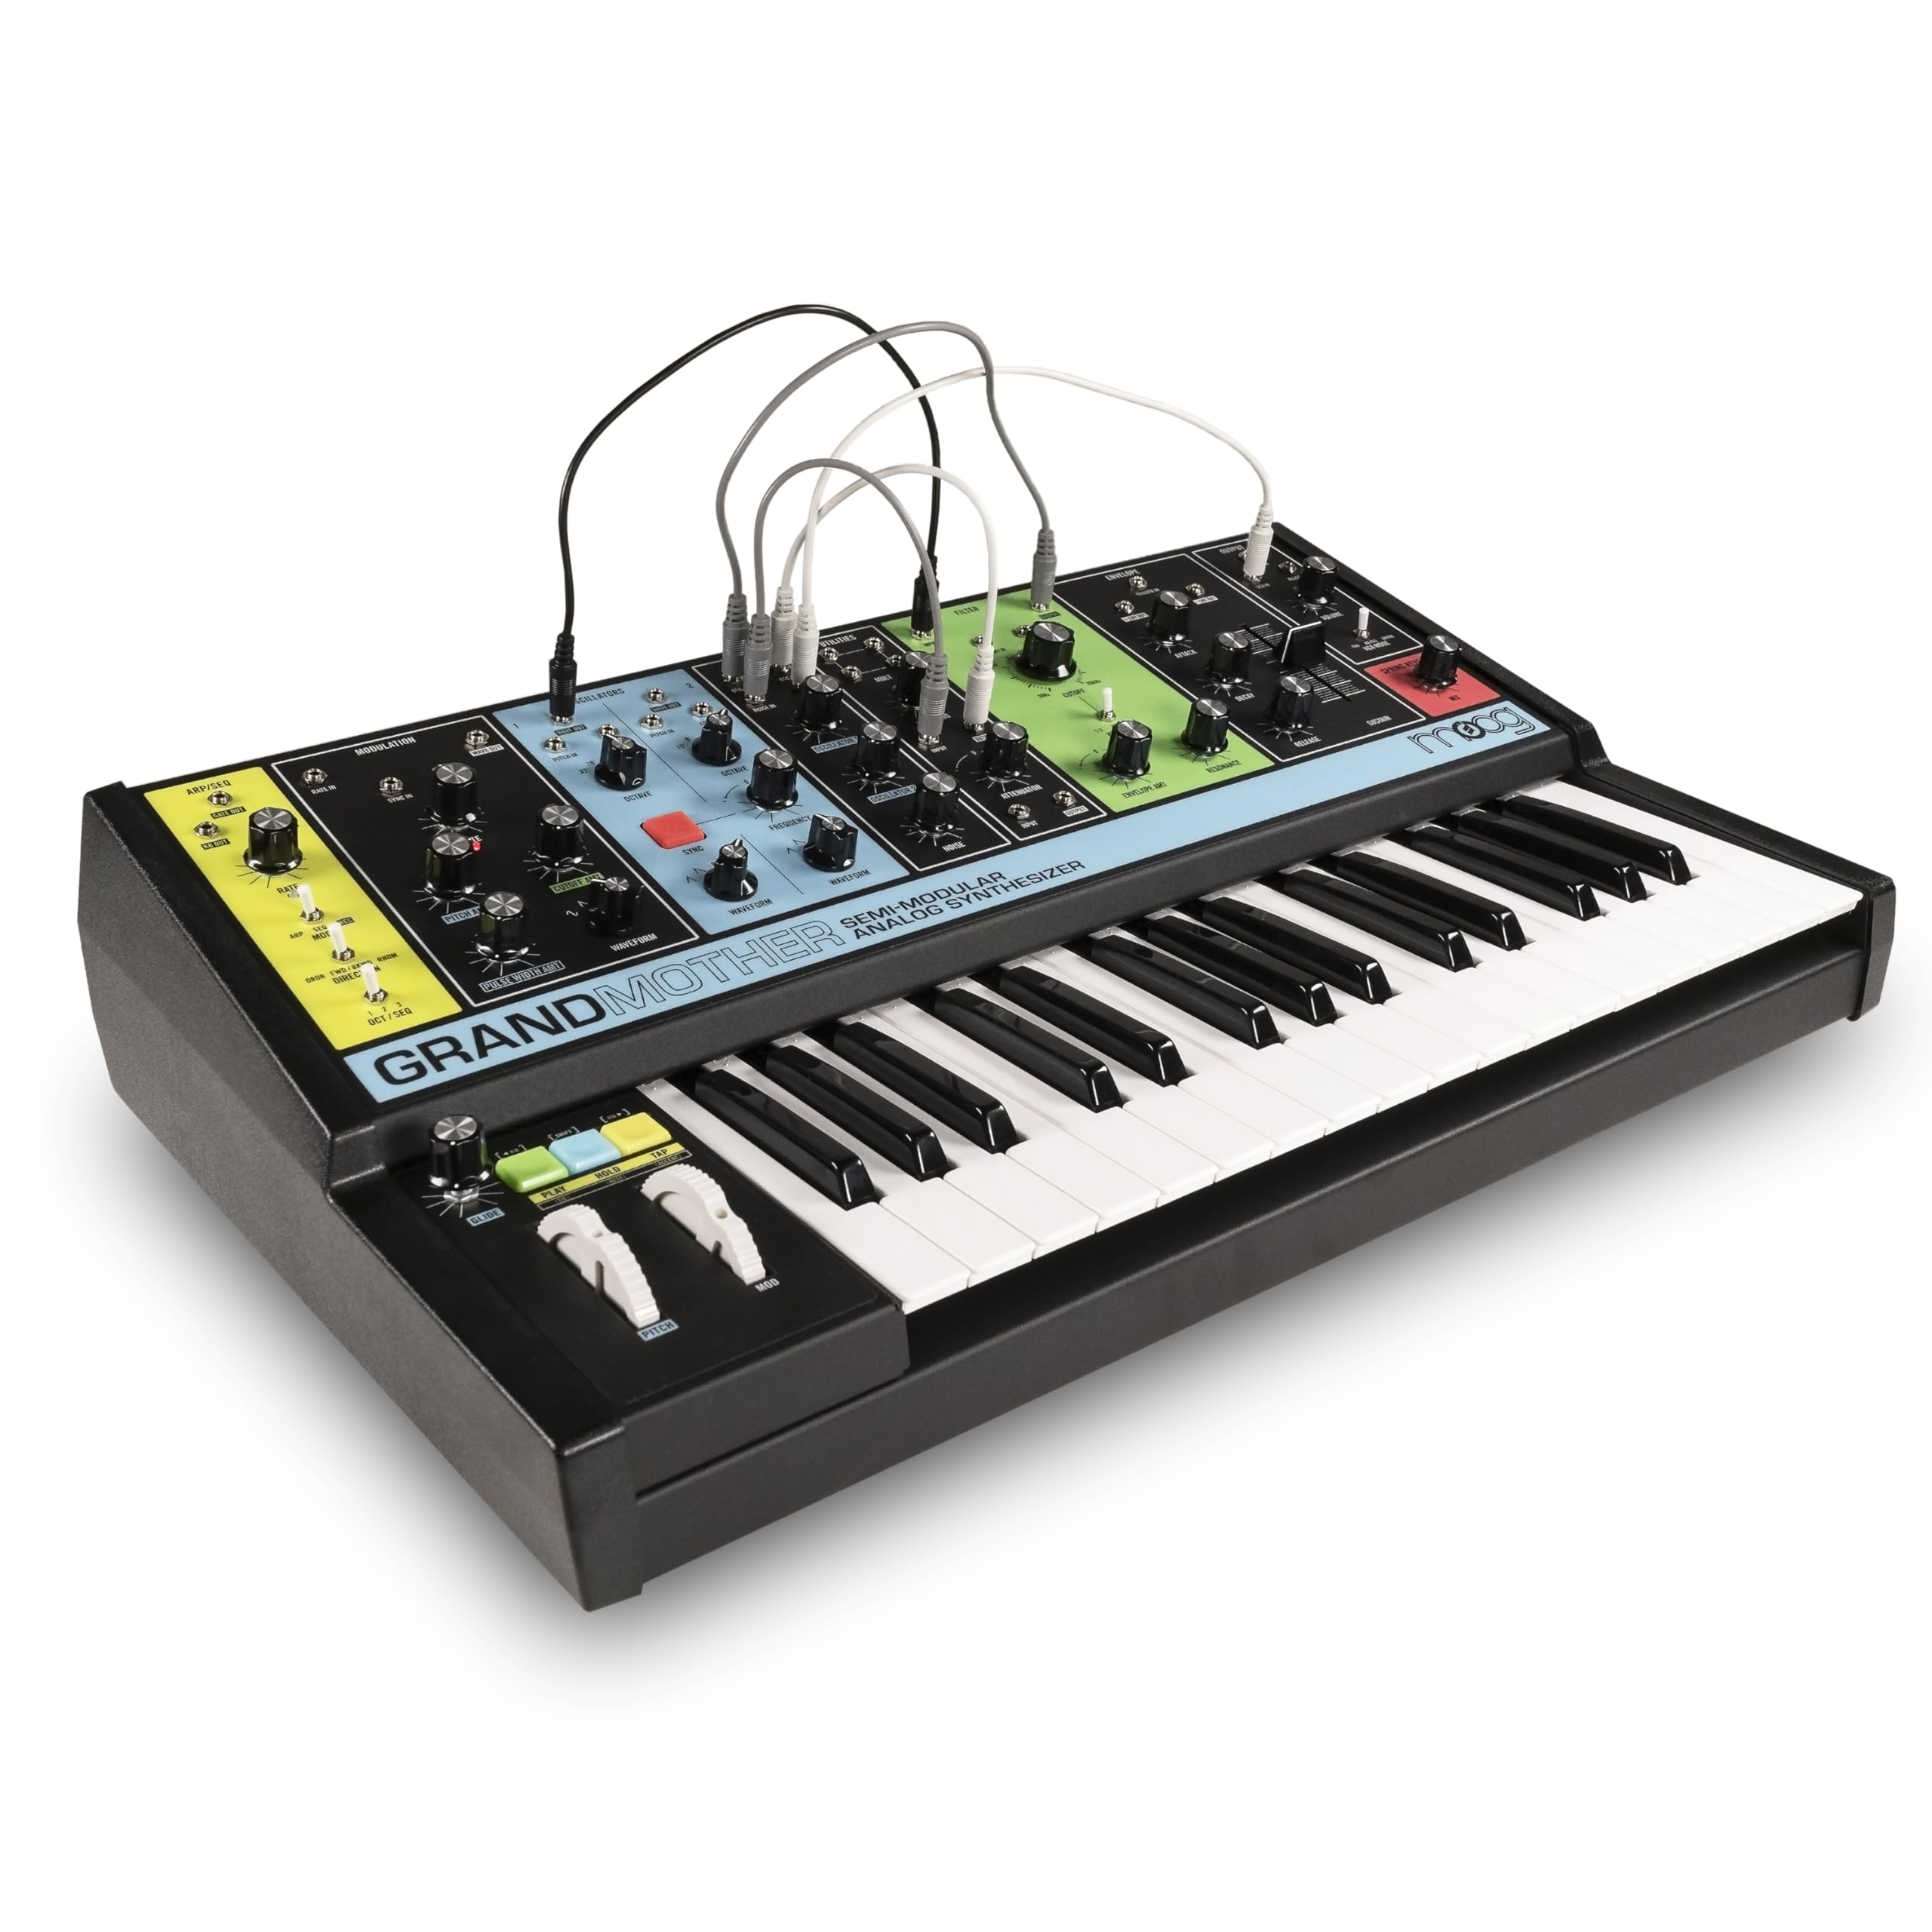
Synthesizers
Come in many shapes and forms. Each one is unique to how it is made.
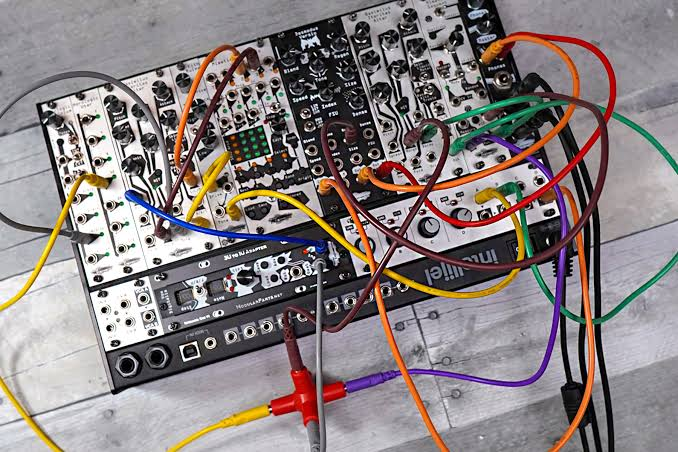
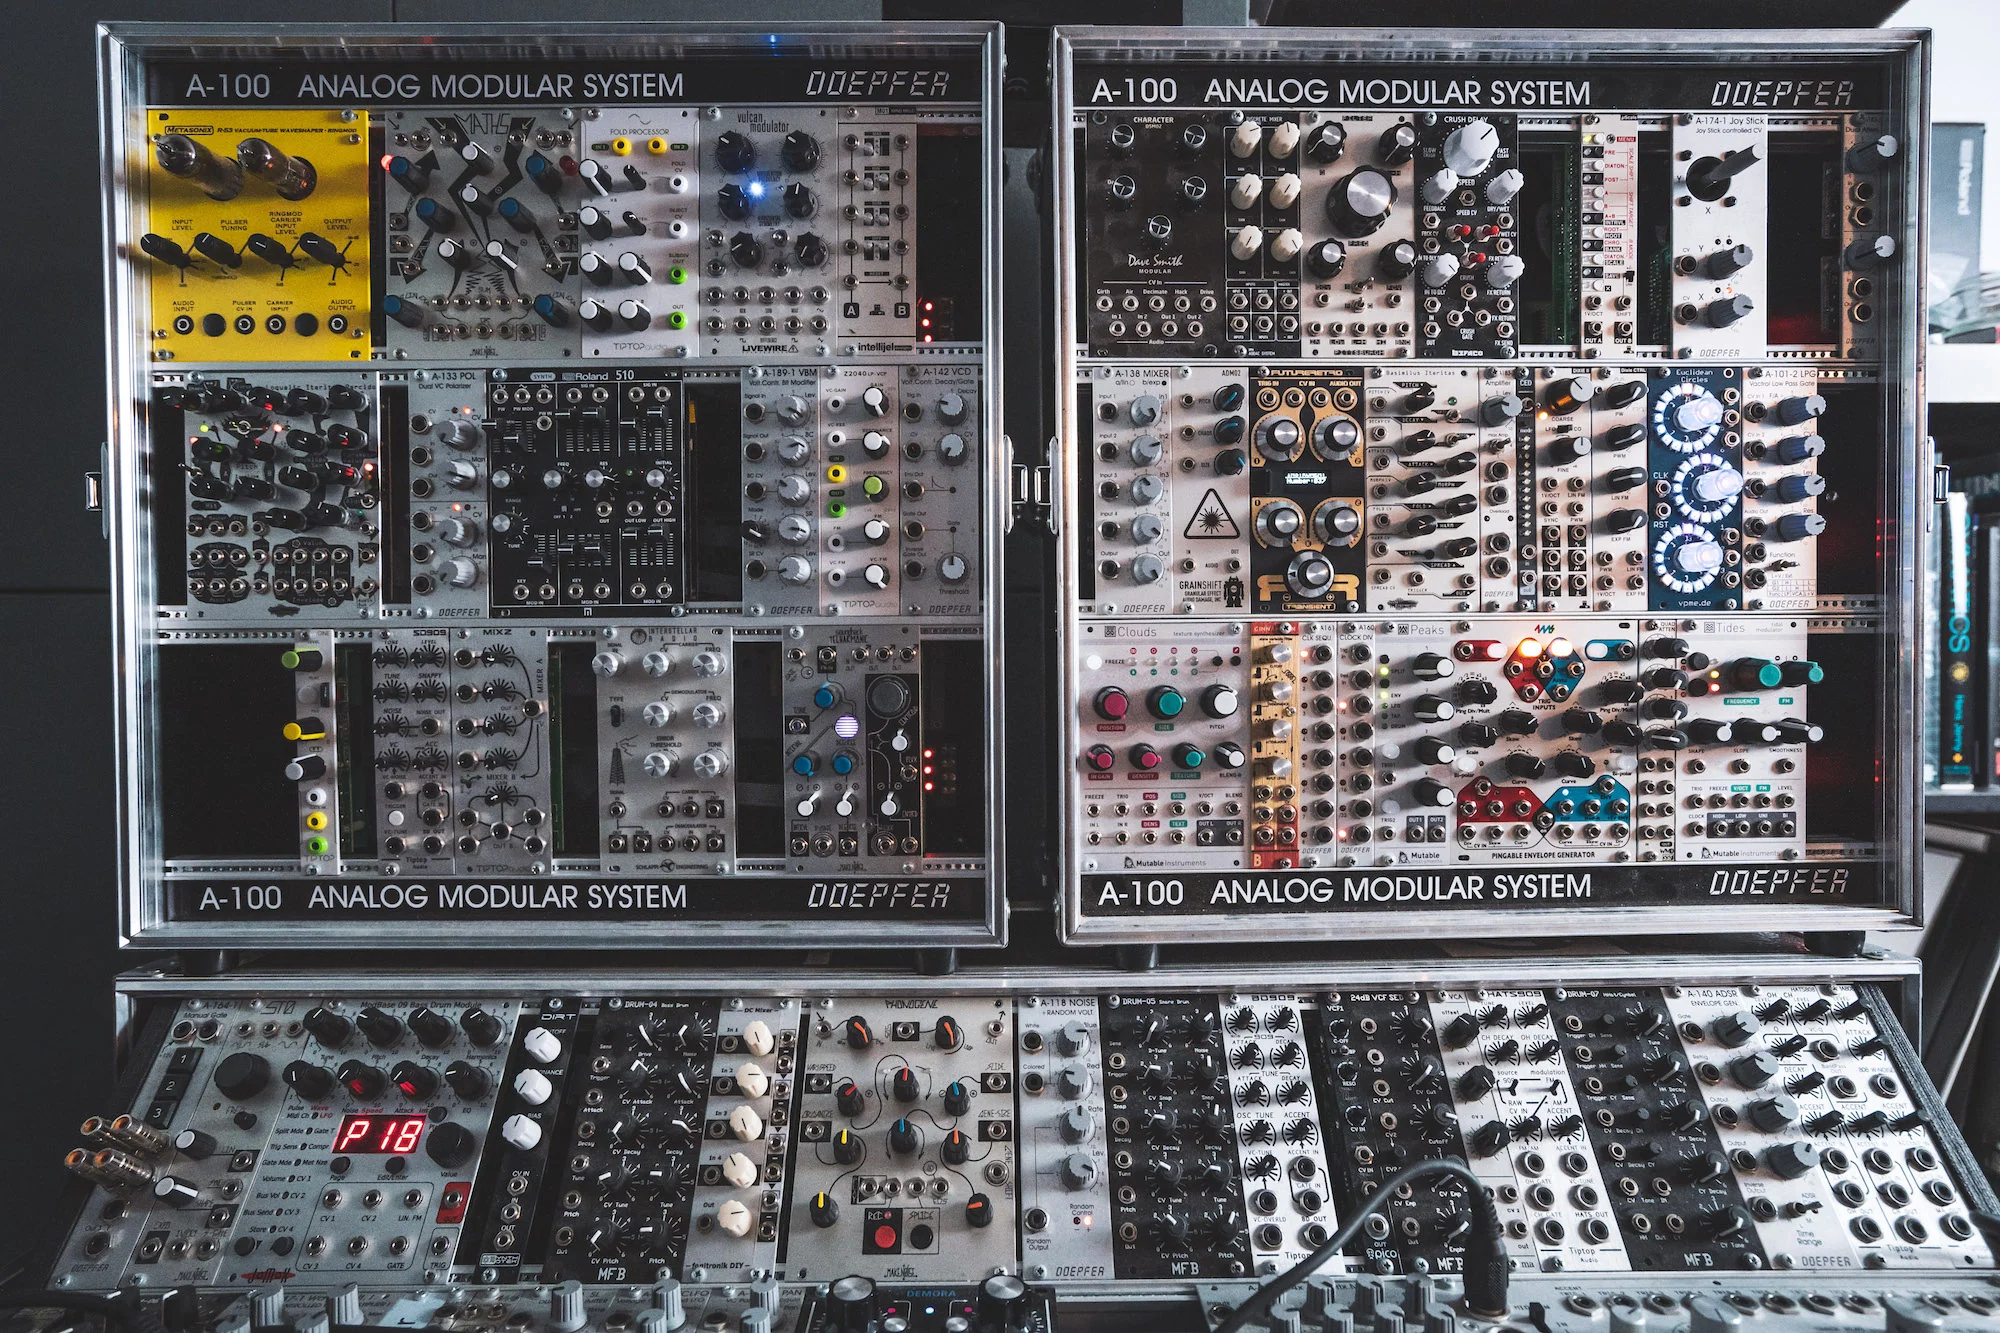
Modular racks
Modular components that you patch together together to create sound.
Digital Audio Workstations (DAWs)
- Ableton
- Garage Band
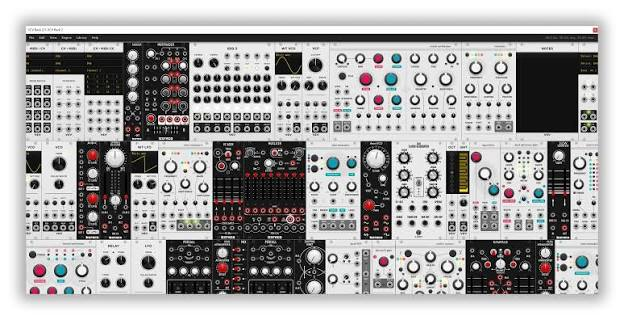
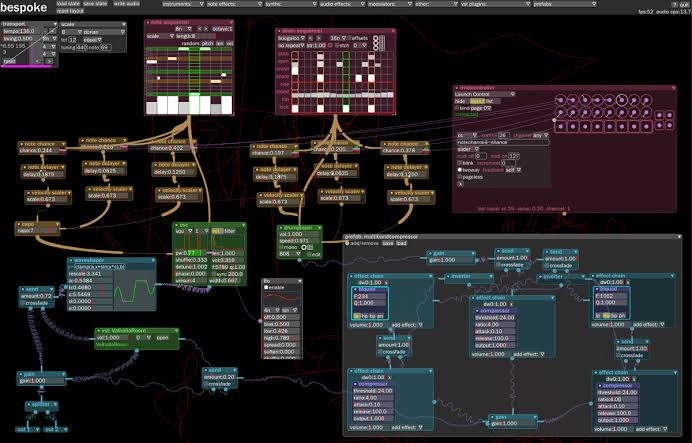
Modular Software
MaxMSP
TouchDesigner
VCV Rack
Bespoke Synth
VST Plugins
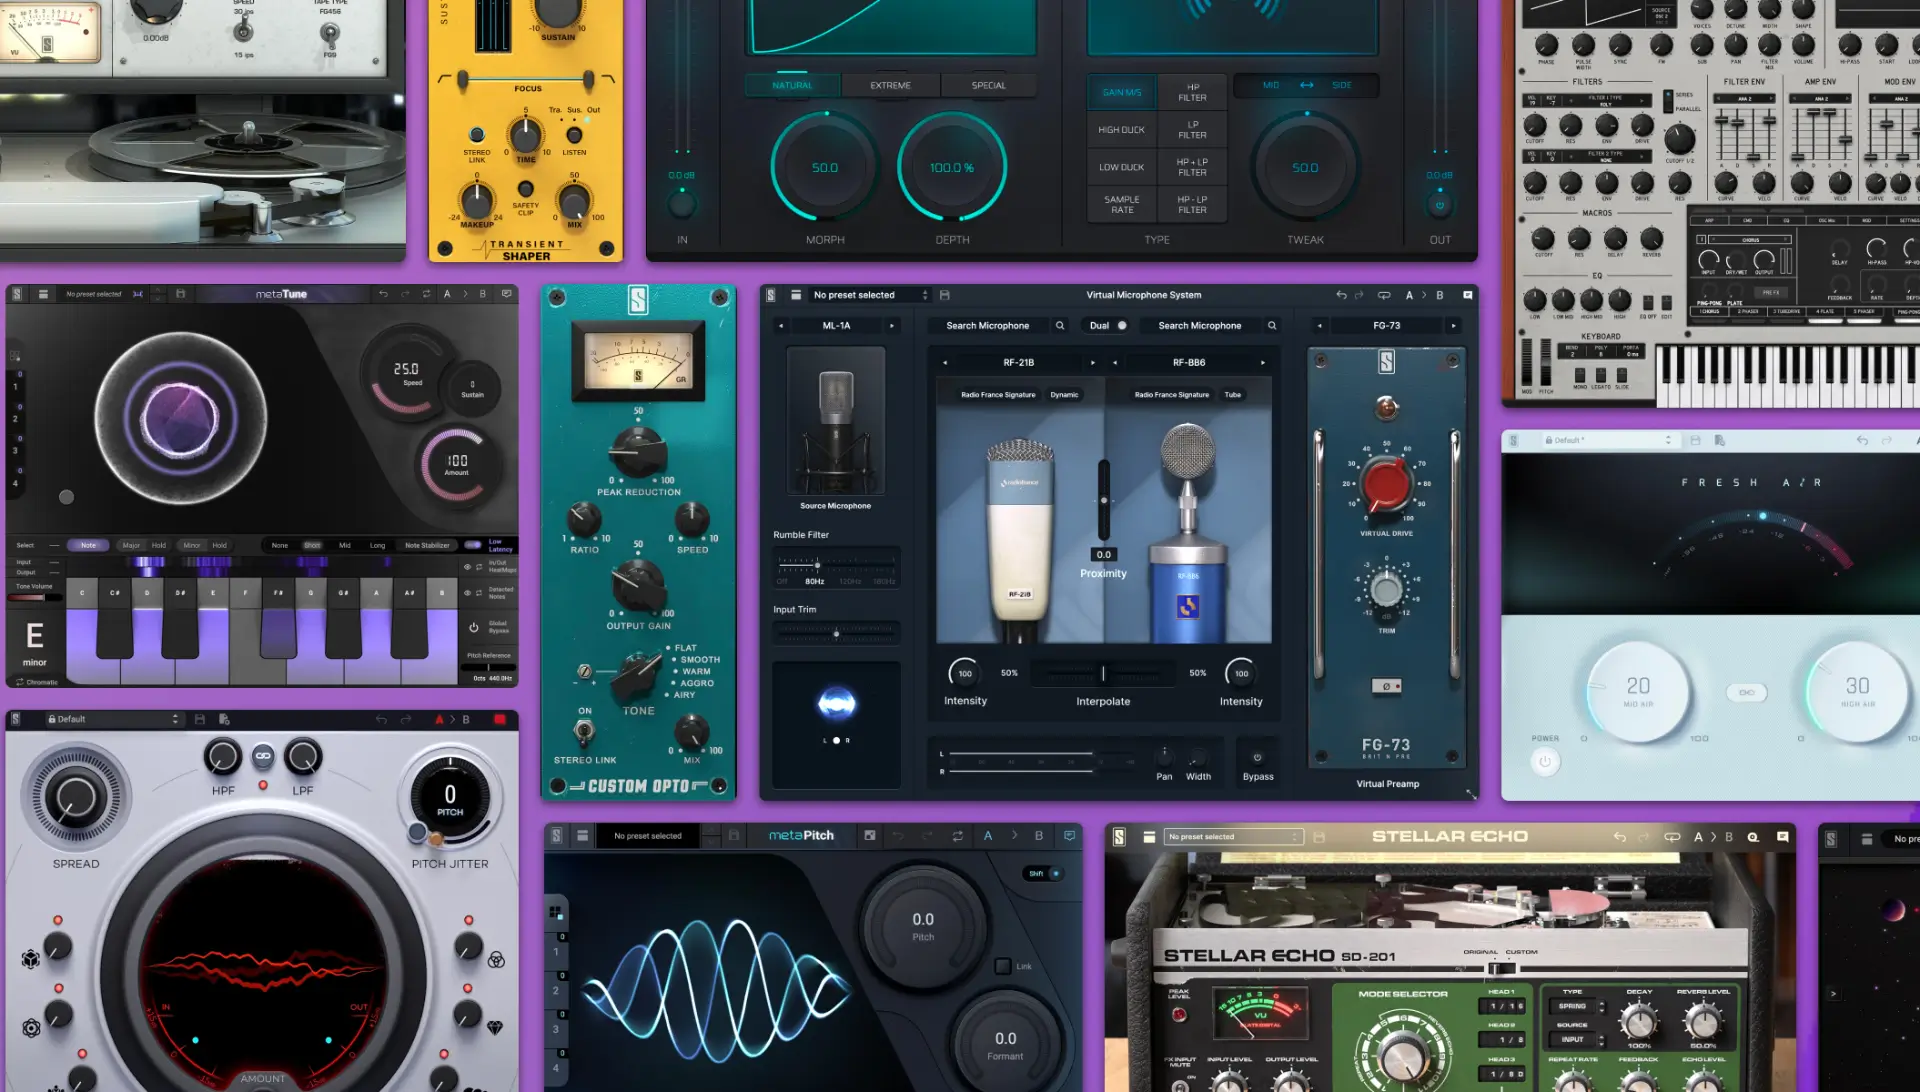
Search for free VST plugins online
- They work with DAWs, MaxMSP, TouchDesigner, and other sound software.
- Find synthesizers, filters, modulation tool, and more useful things!
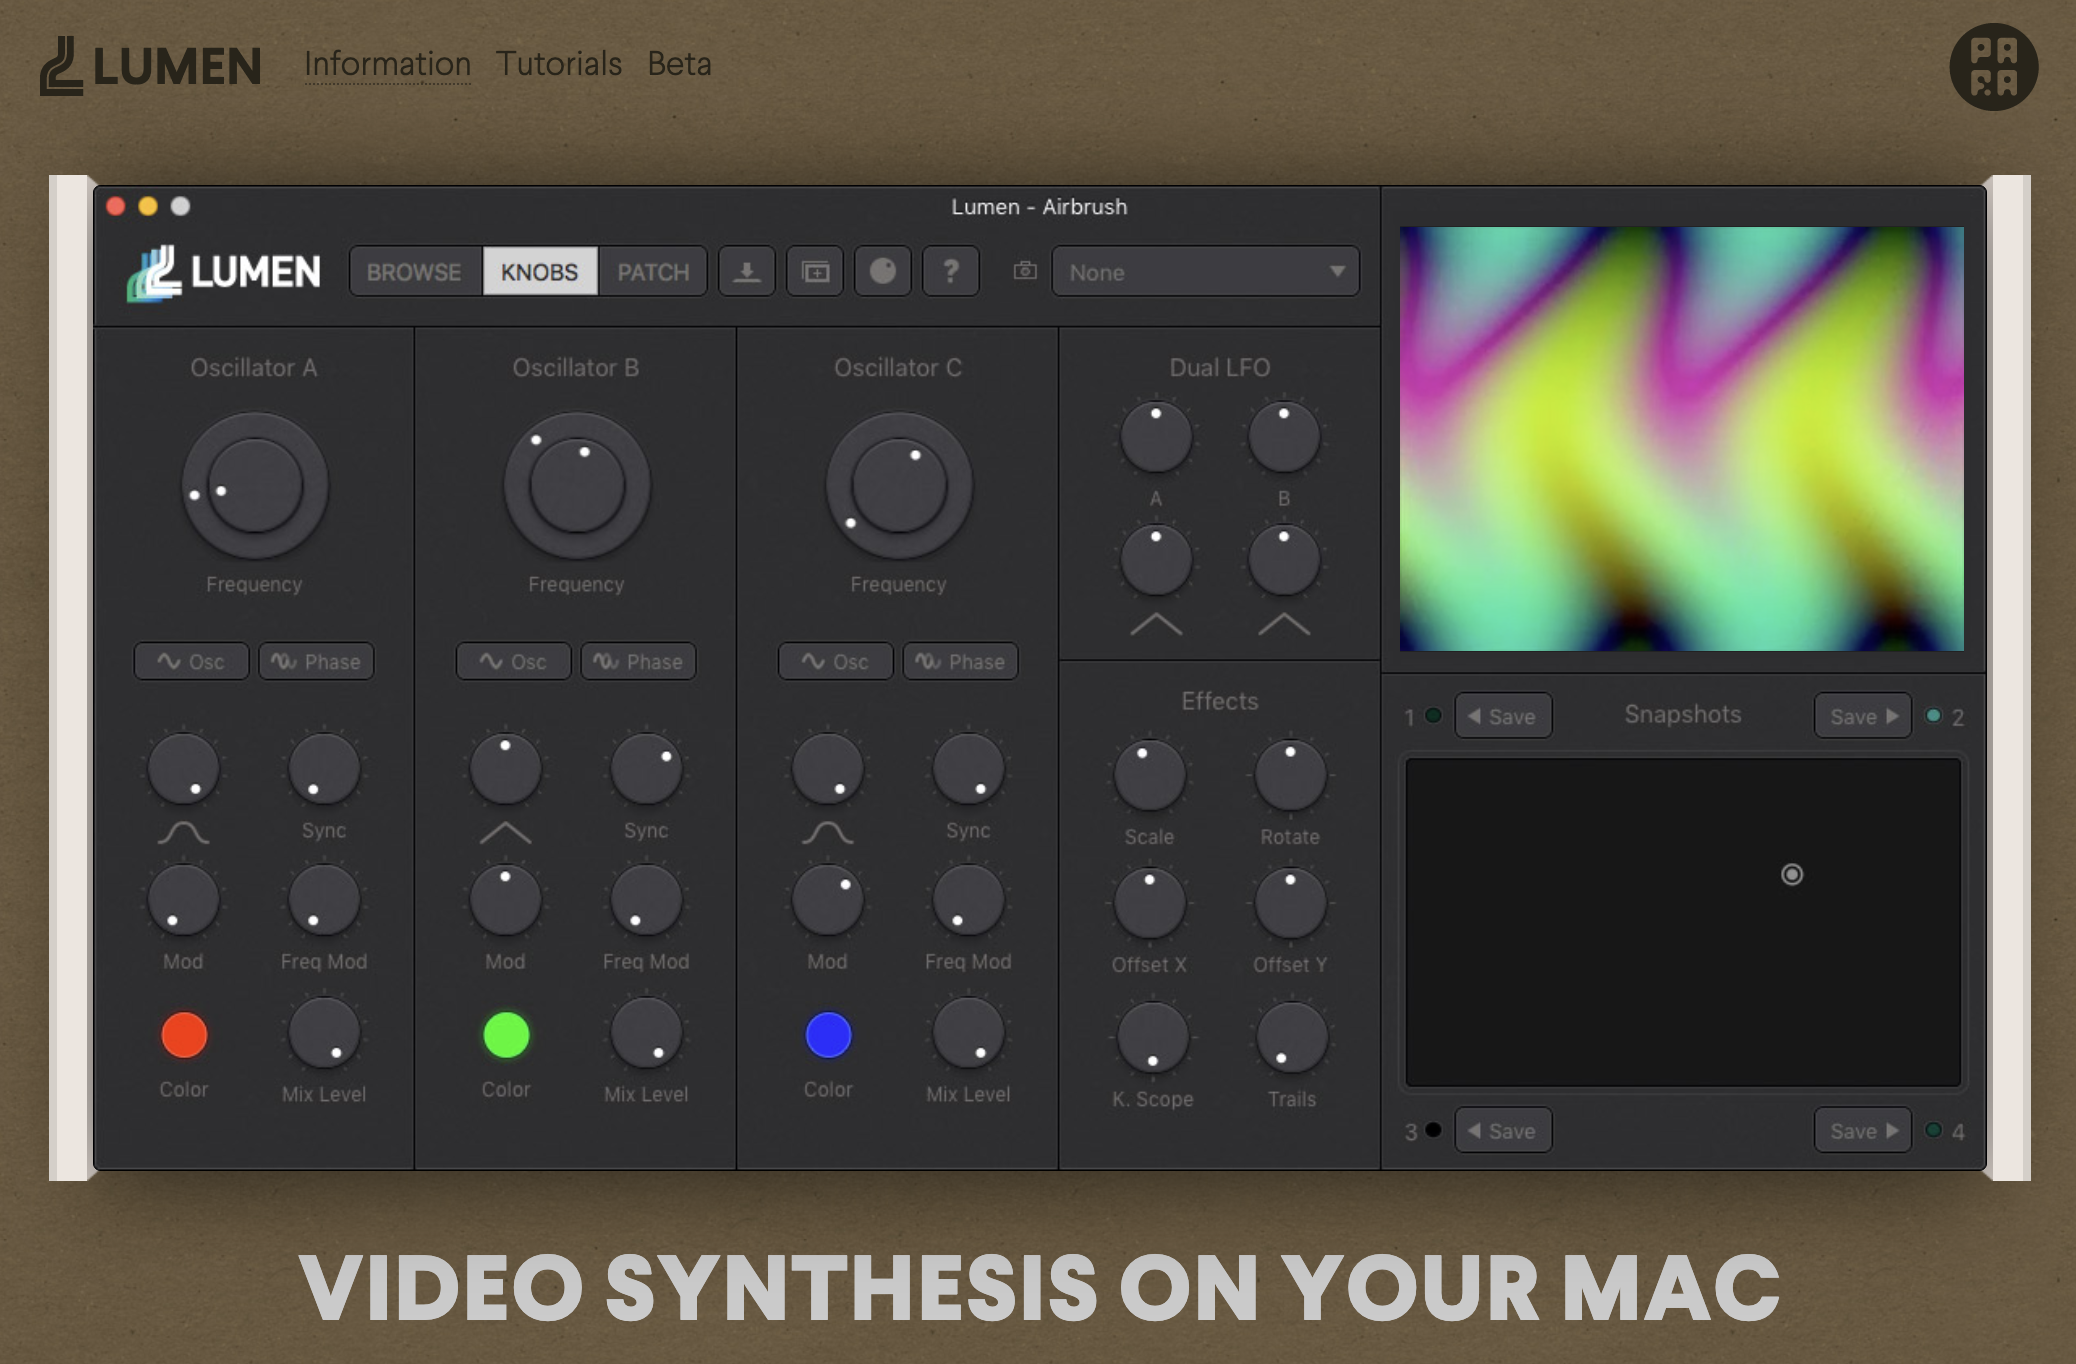
Video Synthesis Tools
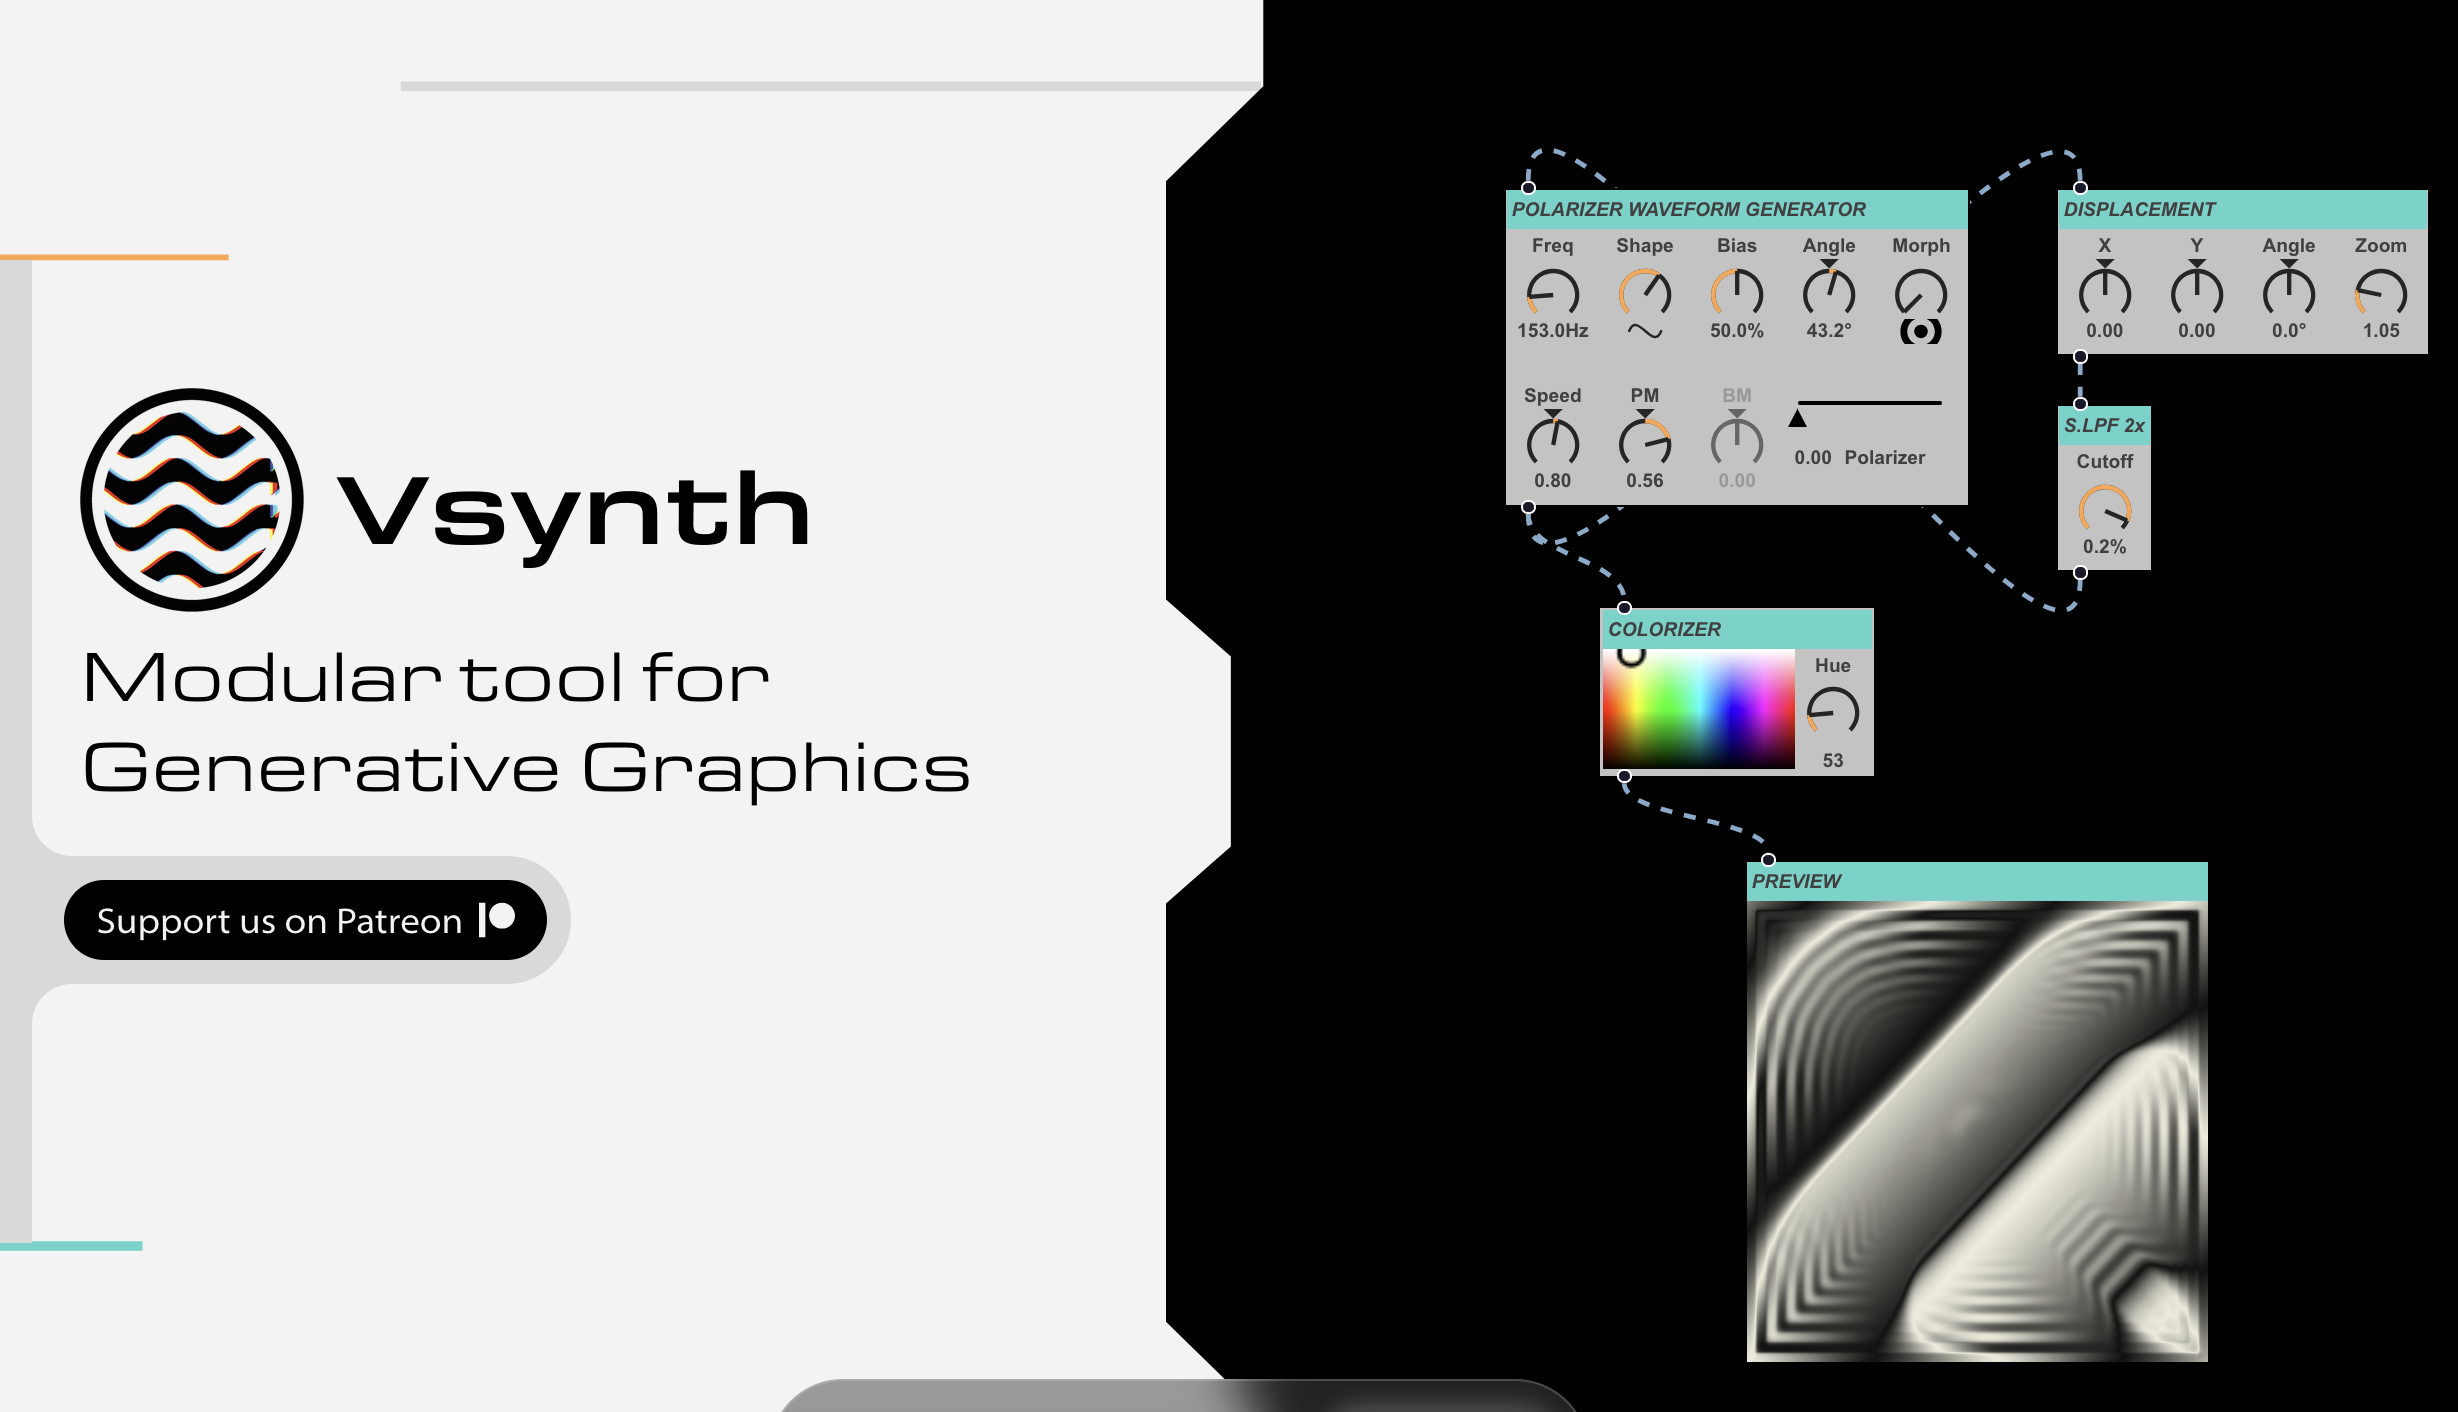
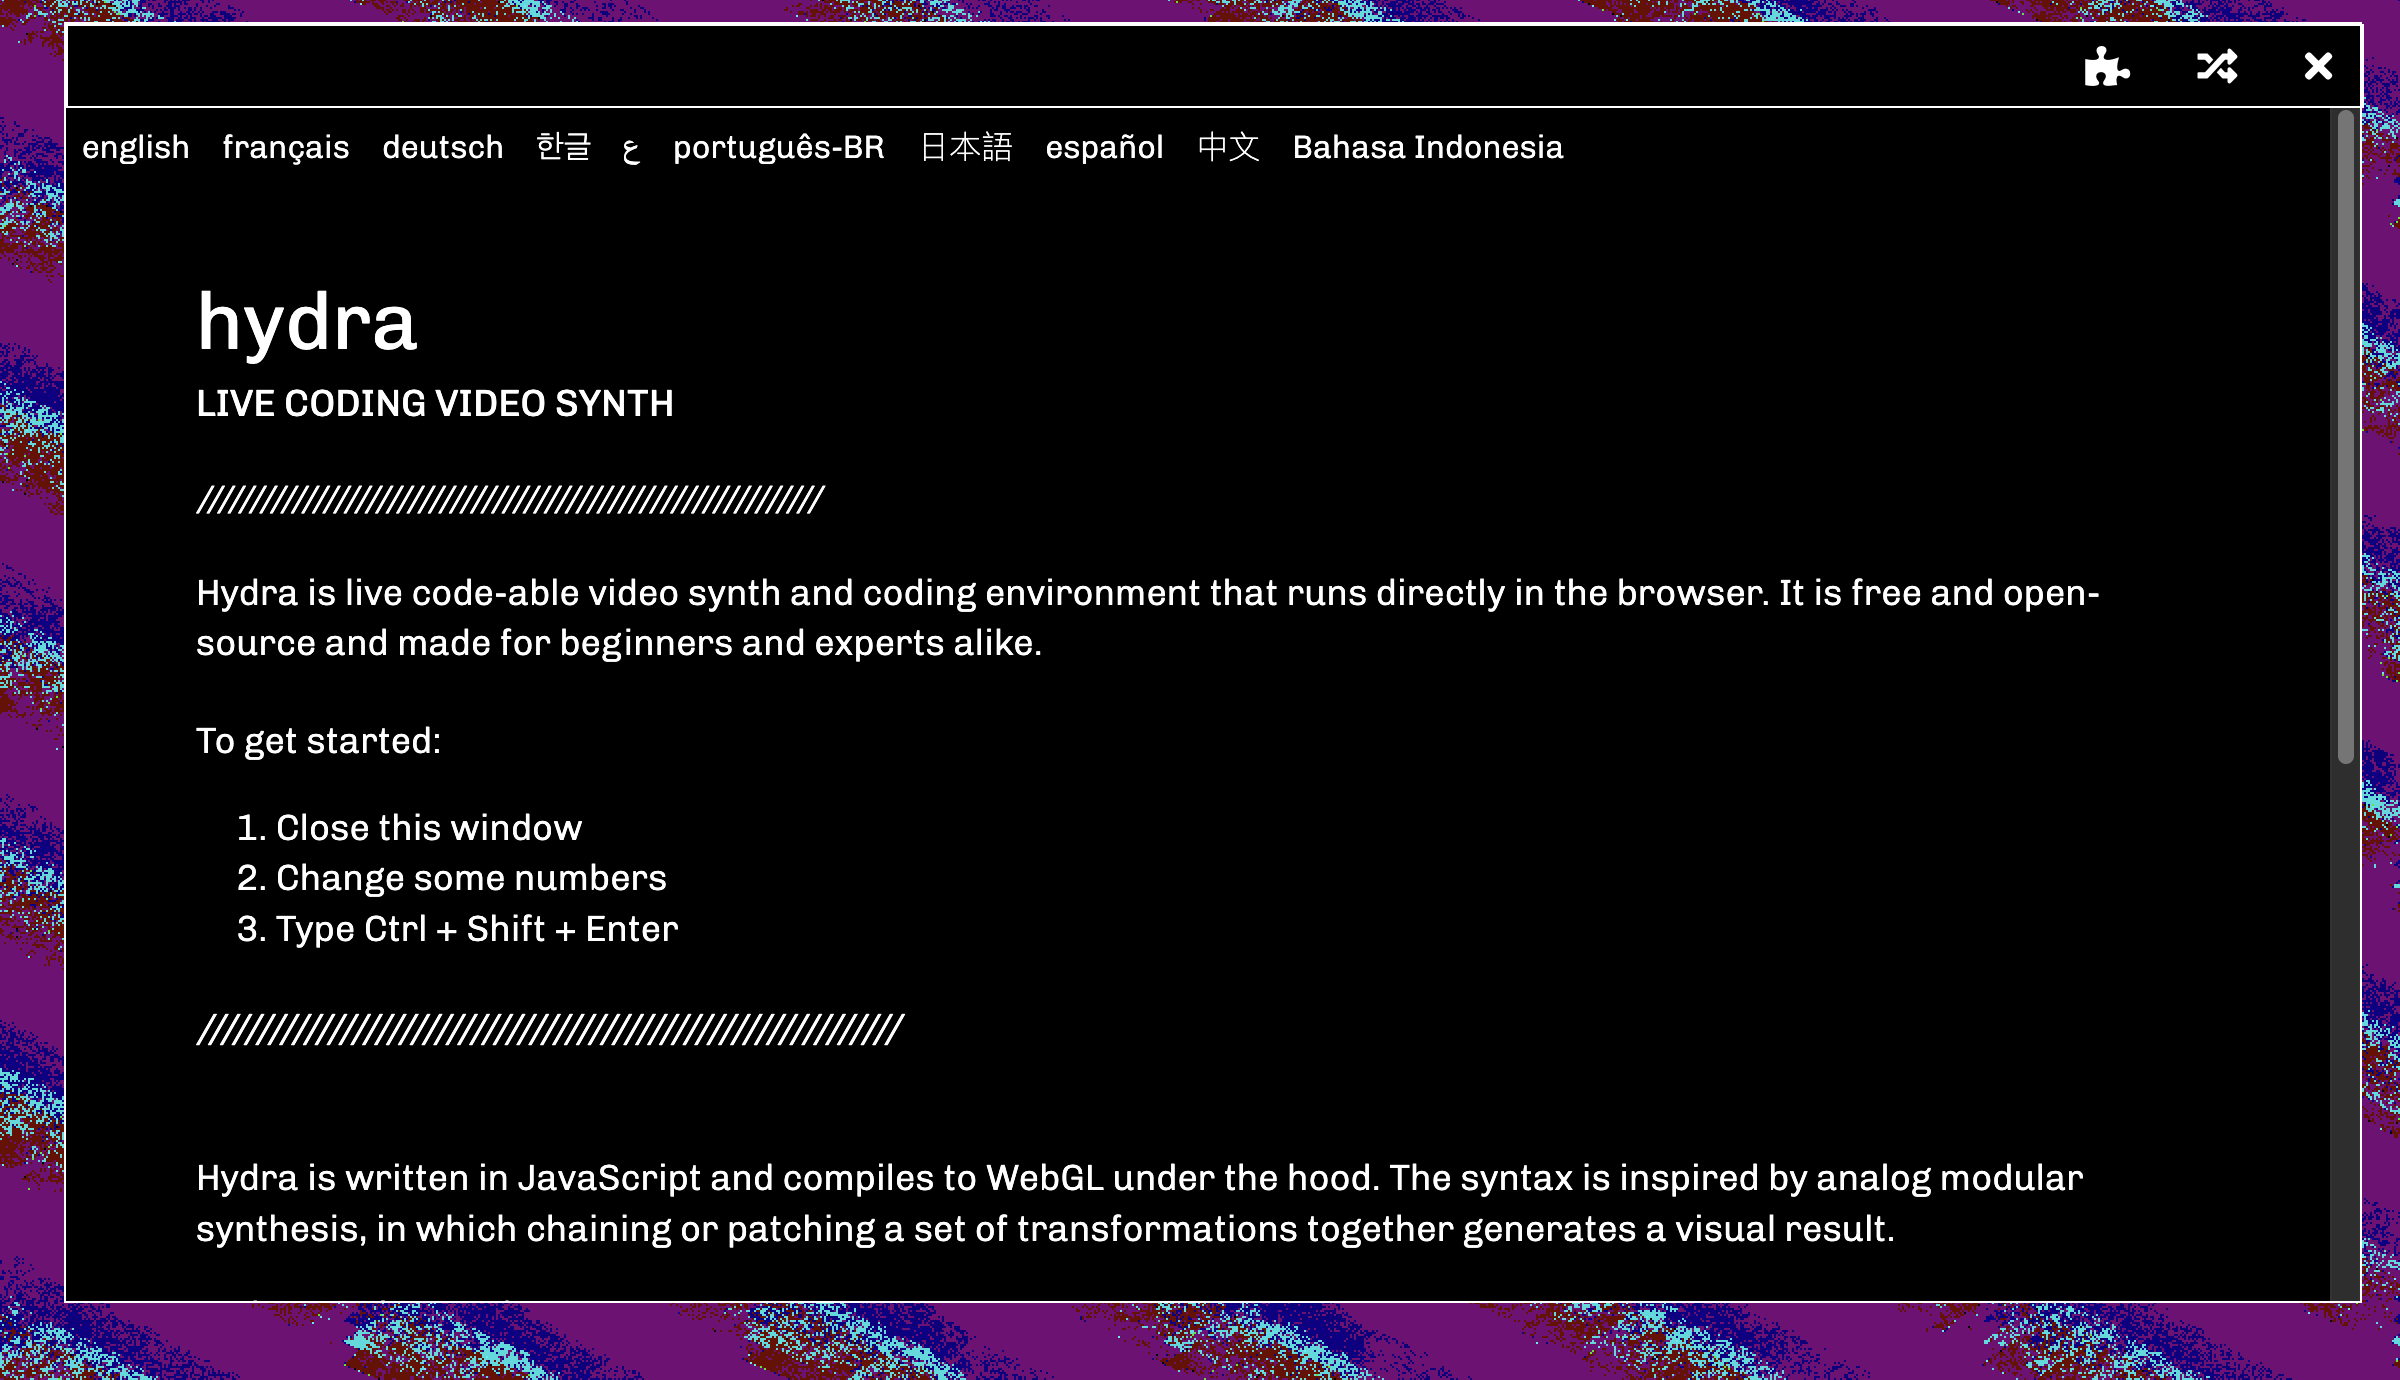
Advanced Techniques: Image-to-Sound + Sound-to-Image
In certain cases you can use specialized sonifcation and visualization techniques to transform data or visuals into sound, or vice versa. There are MANY ways to go about it.
To do so, you must design a "system" that maps parameters of one medium to another. This process of mapping uses specific signal and image processing techniques.
Sound Signal Processing
SEE MAXMSP SIGNAL PROCESSING BASICS
Signal processing allows you to prepare a sound for mapping it to visual content. It involves a series of techniques that smooth and filter incoming sound to produce smooth and responsive triggers for visual reactivity.
For example:
- Filtering - select a frequency range
- Creating thresholds - modify the signal to enhance the responsivity of the visual
- Signal smoothing
- Using logic - create different types of events or data streams
Example: Audio-reactivity
Filter an audio signal to detect certain elements of a sound:
- Beat
- Rhythm
- Snare
- Kick
- +++
Steps for a basic beat detector:
- Filter - use an audio filter to select the low frequency range of a sound
- Analyze - report the peak amplitude
- Signal Tuning - add controls that allow you to tune the detector to the incoming sound (sound is not always consistent!)
- Threshold - adjust the sensitivity
- Gain - amplify the signal
- Limit - clamp within a reasonable range (ie. 0 - 100)
- Add - boost the signal
- Smooth - smooth the signal to create smoother mapping (no smoothing = jumpy visuals; smoothing = flowing & seamless transition)
- Map - using basic logic + math, decide how to map the processed audio signal to your visuals
- Use greater than (>) or less than (<) thresholds to trigger actions or turn things on or off
- Use an ADSR envelope to modulate an effect (speed, translation, colour, intensity, etc)
- Scale the output of your analysis. Your analyzed signal will have a low and high range (ex. between 0 and 1), but it might not match the range of the effect you want to control (ex. 5 and 20). Scaling allows you to remap the original range to the new range for better control.
Image processing
Similar to sound signal processing, image processing allows you to prepare an image (or video) for mapping it to sound. It can be done with Color or BW content. Colour will give you more complexity since there are more colour channels to work with.
There are a few typical techniques. For example:
- Pixel sampling
- Tracking movement across frames
- Image scanning (variation of pixel sampling)
Example 1: Video sonification
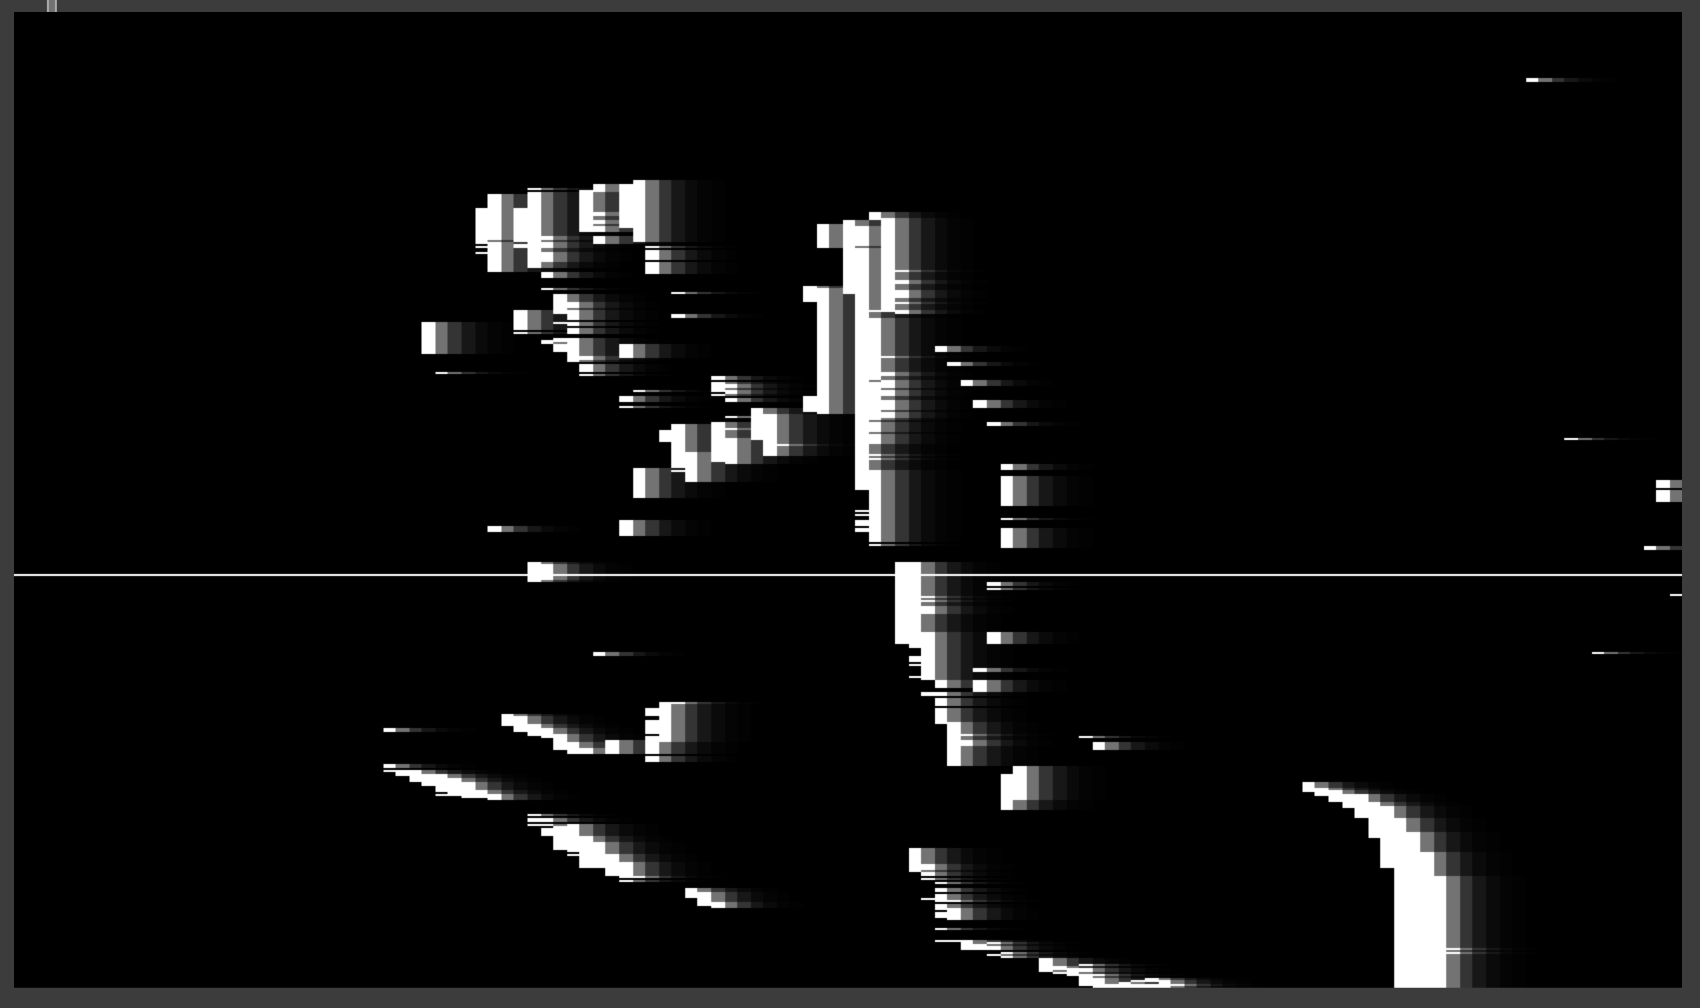
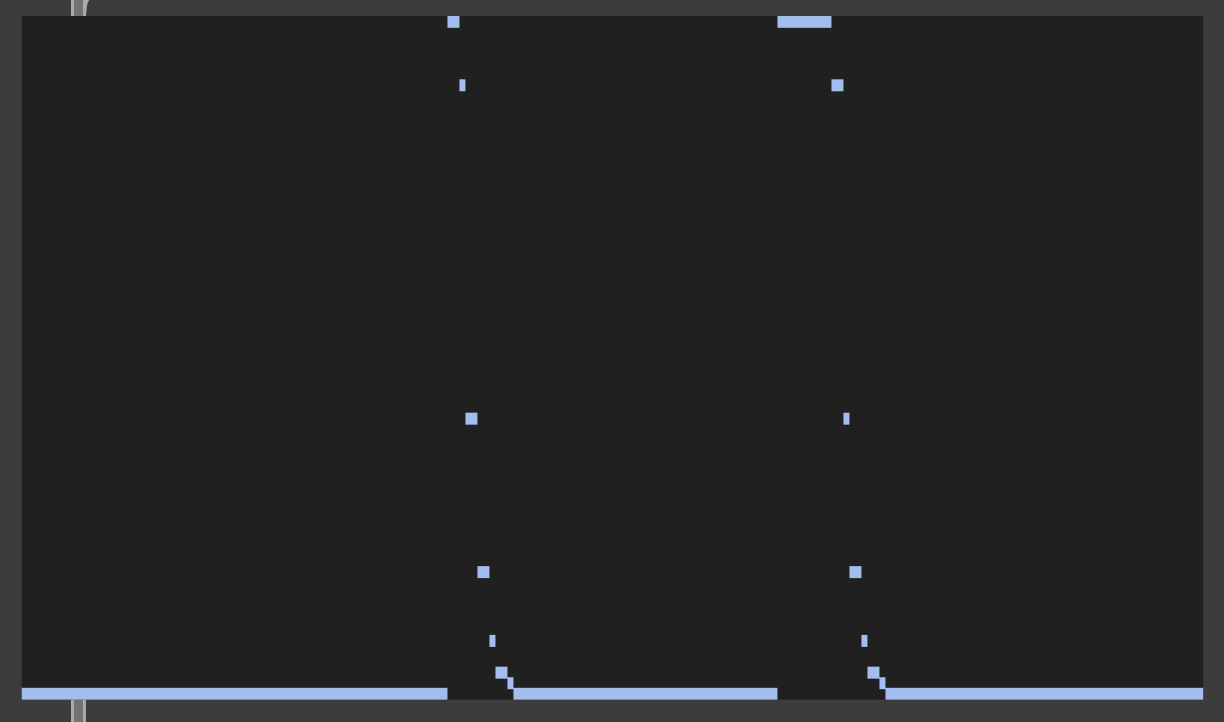
Filter a video to detect movement:
- Choose a video source - there must be movement
- Convert it to black and white.
- Resample the video - downsize the resolution to make processing faster on your computer
- Create an edge effect - that calculates the difference between frames (this is what tracks the movement)
- Create a threshold - mask your video to filter out unwanted noise
- Add video effects (feedback, blurring, etc) - this will change the nature of the sound and is something you can modulate to create transforming sound over time.
- Sample a single row of pixels - choose a row where most movement occurs in the video.
- Map the pixels into sound. There are different ways to do this:
- Make notes on a key on a keyboard
- Each pixel could be it's own oscillator with a specific frequency
- Trigger varying note durations (Black = long note; White = short note)
- Whatever else you think of - this is the creative part!
- Modulate a filter, or other sound effect
Example 2: Pixel scanning
Similar process to video sonification, except that instead of selecting a single row to sample, you "scan" the image, or in other words move the sample point across the image. The movement of the sample point is what creates the changing sound.
Sample a slice of pixels and map to sound:
- Choose an image source
- Select a slice (row or column) of pixels to sample from the image
- Map to sound
Activities
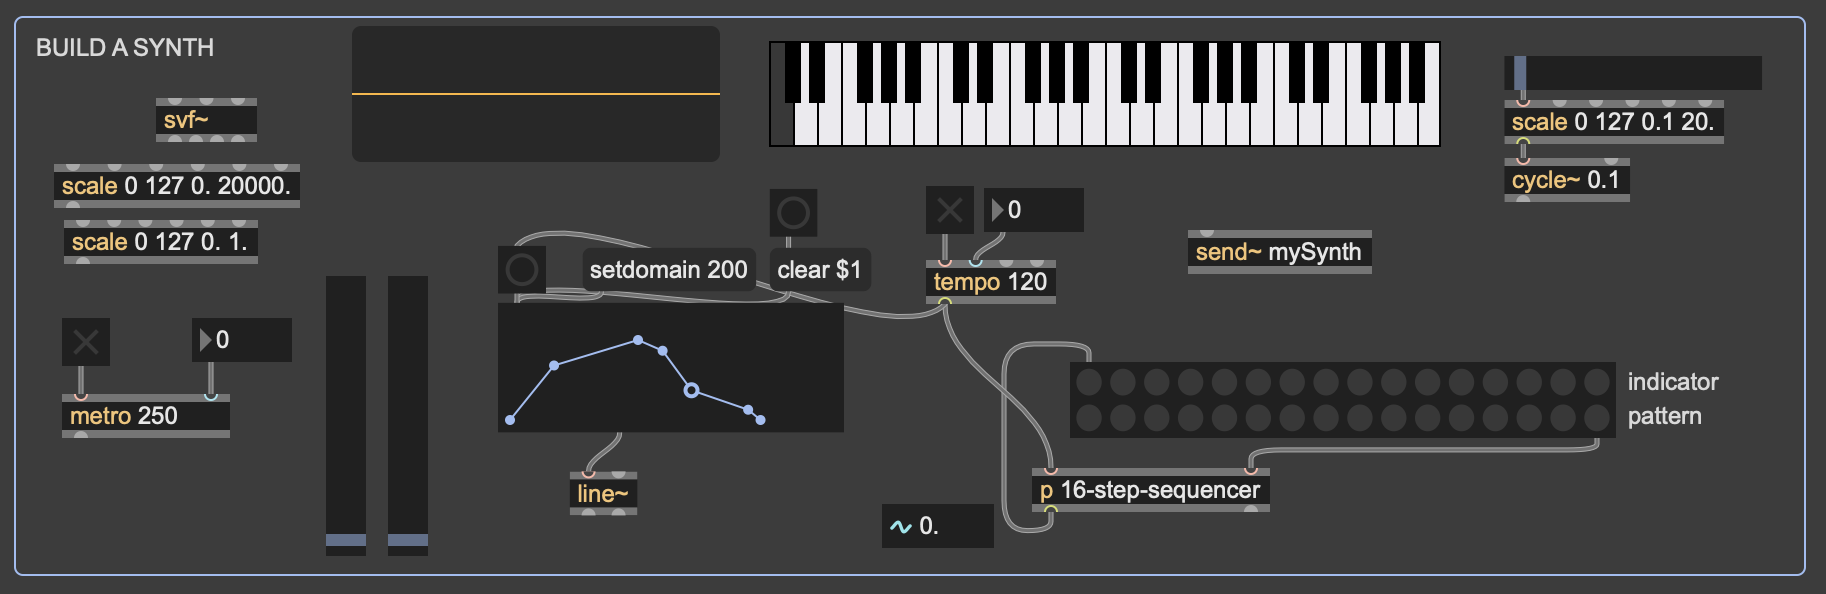
1. Build a simple synth
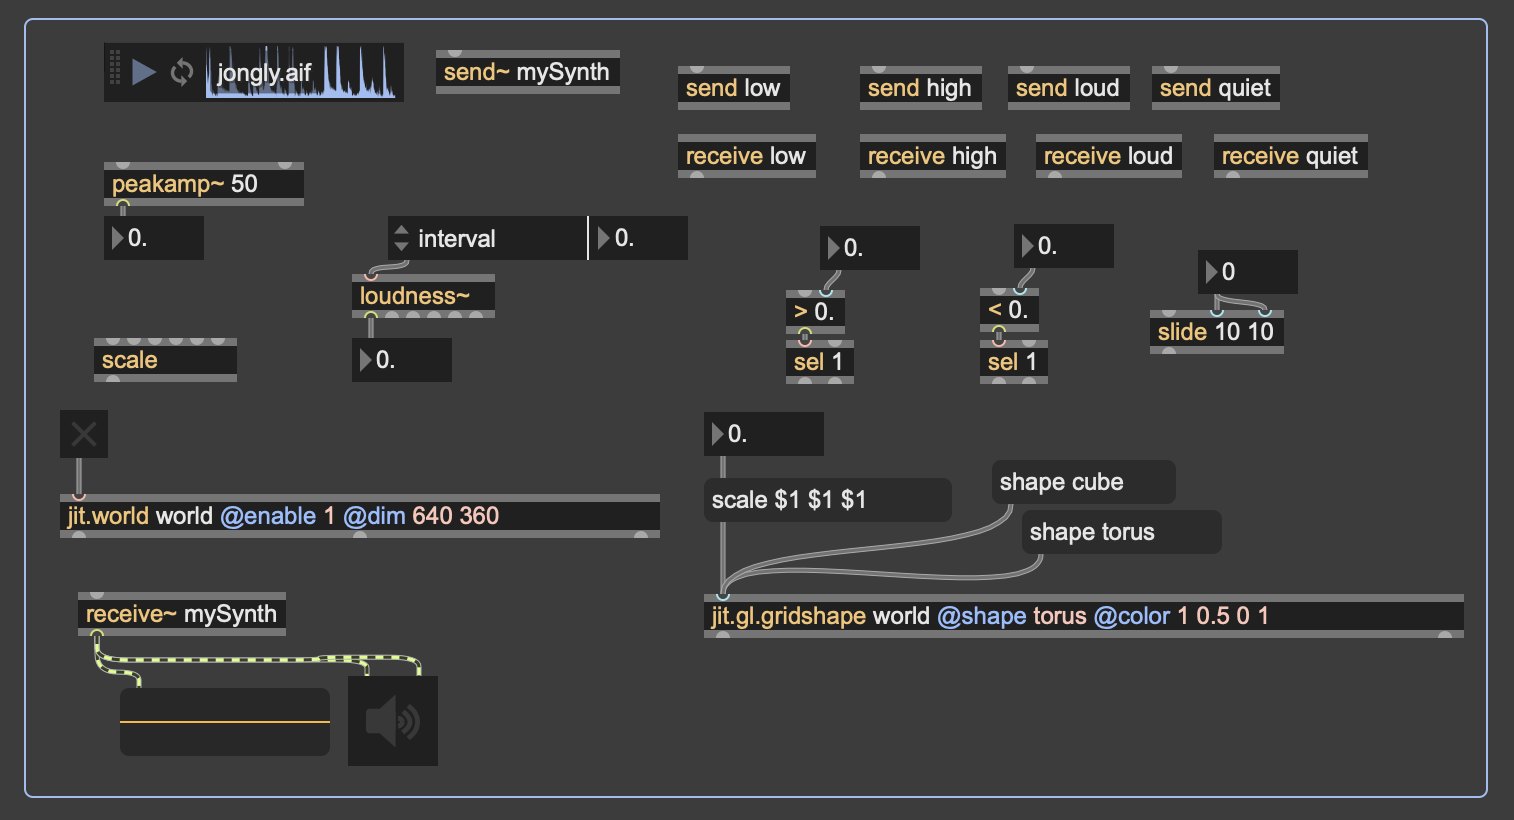
Instructions: Use the objects provided in the patch to assemble a simple audio synth. More steps to follow inside the patch.
2. Make your synth visible
Instructions: Use the objects provided in the patch to map sound to visuals. More steps to follow inside the patch.